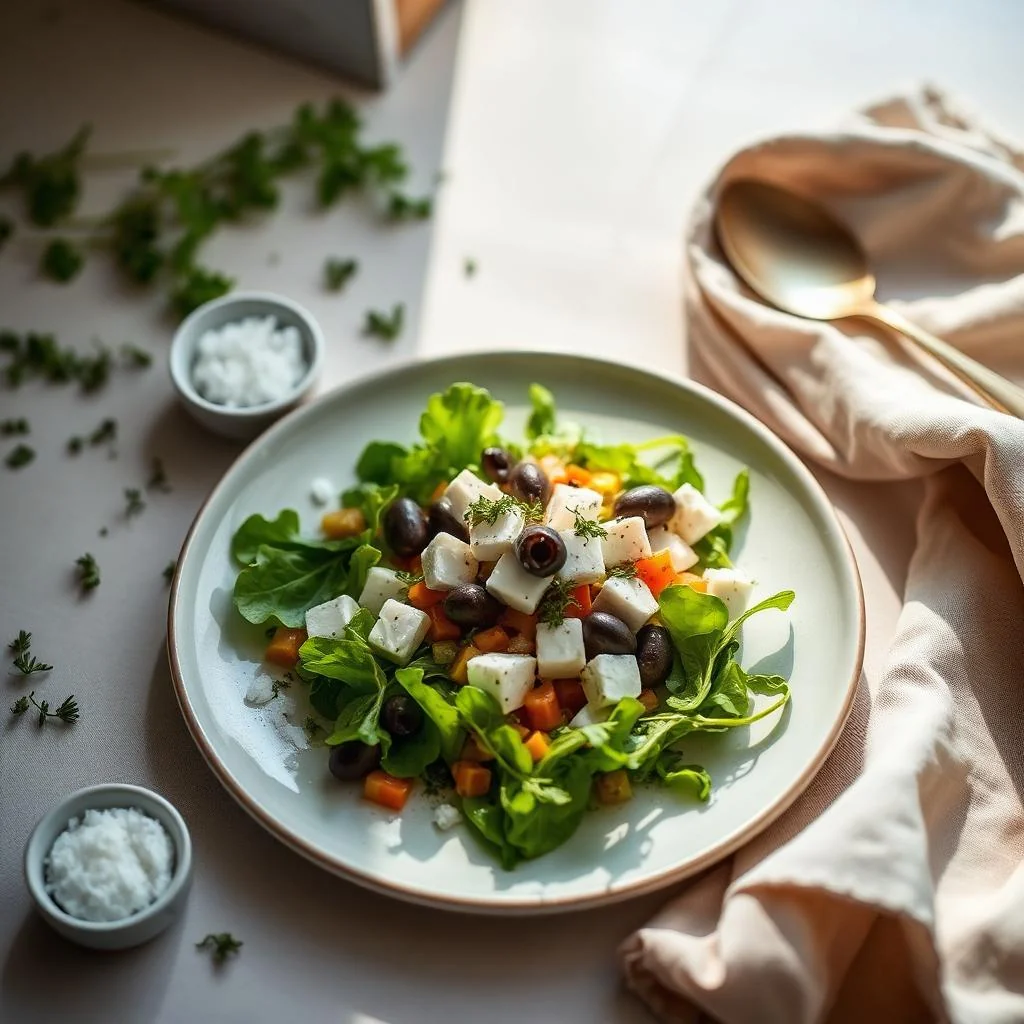
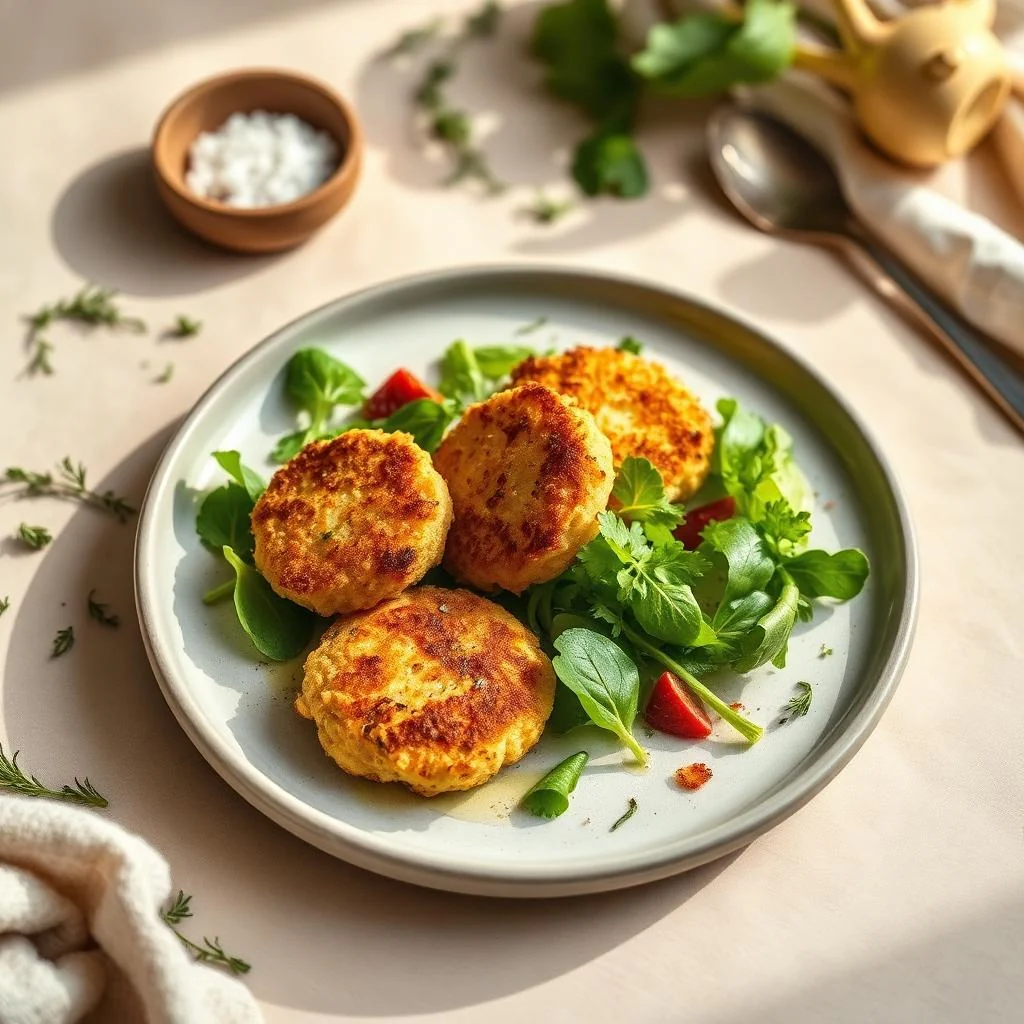
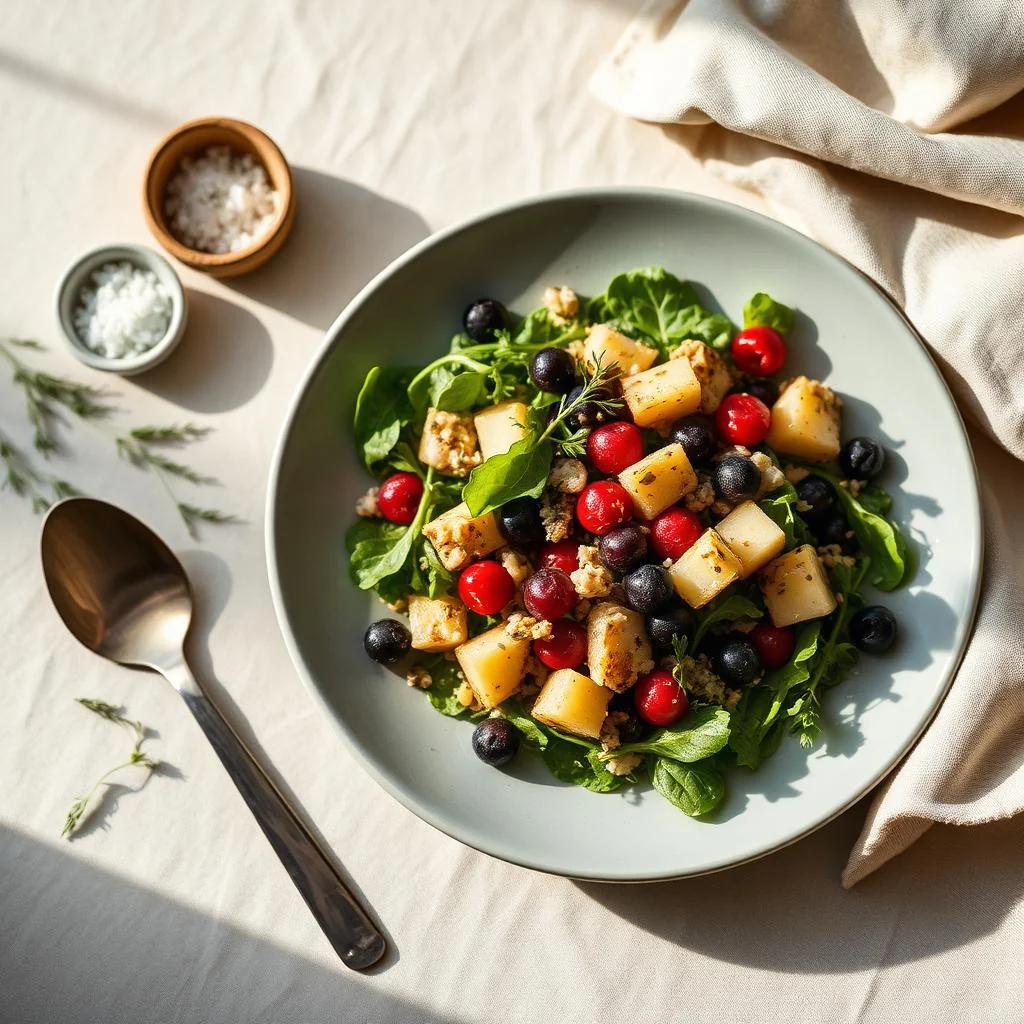
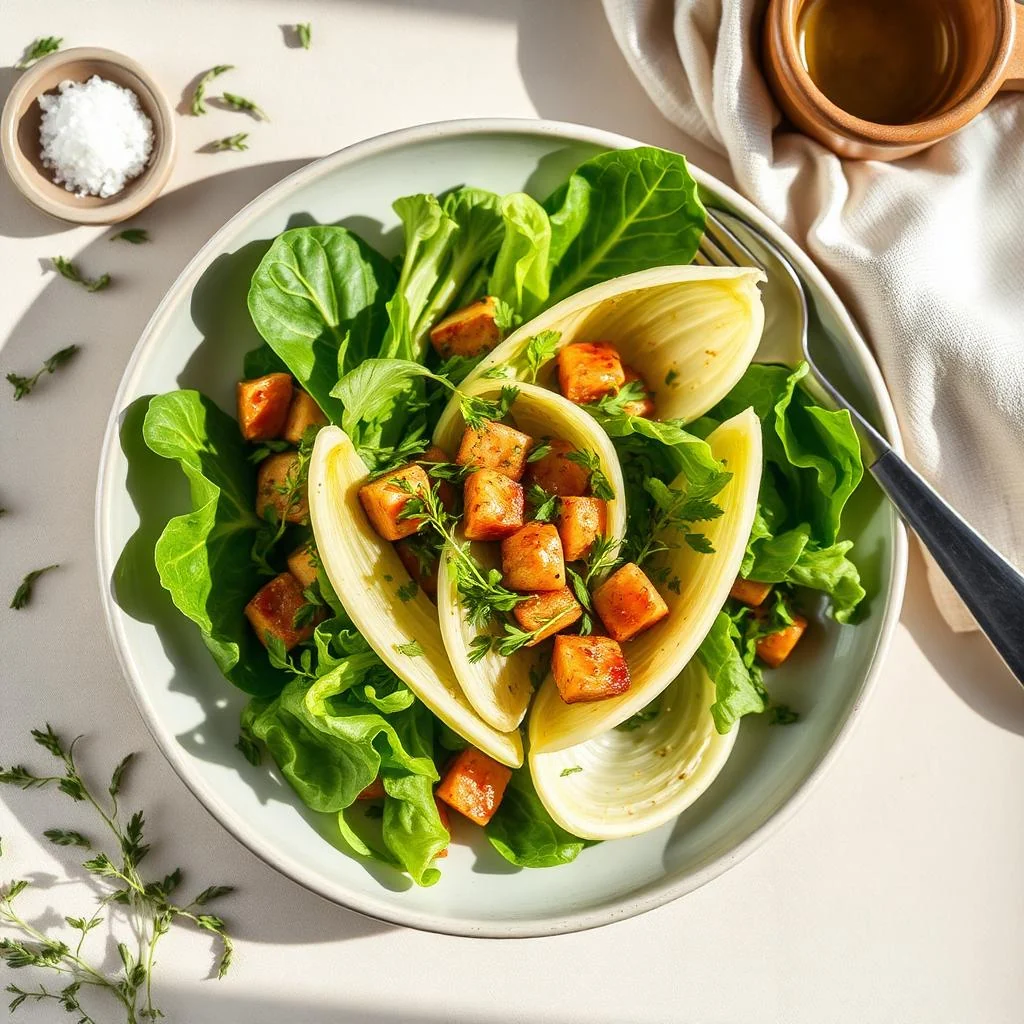
I still remember the day my neighbor bet me twenty bucks that I couldn't make short ribs taste better than his fancy wine-braised version. Challenge accepted, my friend. What happened next was a glorious kitchen experiment involving a two-liter bottle of cola, some skeptical family members, and the most incredible aroma that's ever wafted through my house. The result? These succulent short ribs that literally fall off the bone and into your heart, creating a sauce so rich and complex that you'll swear there's a culinary degree hanging on my wall.
Picture this: it's Sunday afternoon, football is on in the background, and I've got these beautiful thick short ribs sitting on my counter looking like they own the place. Most people reach for wine or beer when braising beef, but not me. I'm about to pour an entire can of cola over these beauties, and let me tell you something — the carbonation tenderizes the meat while the sugars caramelize into this sticky, glossy glaze that makes restaurant chefs weep with envy. The first time I made this, my brother-in-law walked into the kitchen, took one whiff, and immediately asked if he could move in permanently.
Here's what makes this recipe absolutely magical: the cola doesn't just add sweetness, it creates this incredible depth of flavor that wine simply can't match. The phosphoric acid breaks down the connective tissue in ways that make the meat practically melt on your fork, while the caramel coloring adds this gorgeous mahogany hue that food photographers would kill to capture. Every single person who's tried this dish has asked for the recipe within the first three bites, and I guarantee you'll be the star of your next dinner party when you pull this out of the oven.
Let me walk you through every single step — by the end, you'll wonder how you ever made it any other way.
What Makes This Version Stand Out
- Cola Magic: The carbonic acid in cola works as a natural meat tenderizer, breaking down tough fibers while the sugars create an incredible caramelized crust that you'll want to eat with a spoon.
- Lazy Weekend Perfect: This recipe requires exactly fifteen minutes of active work time, then the oven does all the heavy lifting while you binge-watch your favorite shows or tackle that pile of laundry you've been avoiding.
- Restaurant-Quality Sauce: The cola reduces into this glossy, sticky sauce that coats every bite like liquid velvet, transforming humble ingredients into something worthy of a five-star review.
- Feeding a Crowd: These ribs scale beautifully for parties, and the leftovers (if there are any) taste even better the next day when the flavors have time to meld together in the fridge.
- Budget-Friendly Luxury: Short ribs are one of the most affordable cuts of beef, yet this method makes them taste like you're dining at the finest steakhouse in town.
- Fail-Proof Technique: Unlike finicky recipes that require precise timing, this dish forgives you if you leave it in thirty minutes too long — it just gets more tender and delicious.
- Conversation Starter: Tell your guests you used cola in the recipe and watch their faces transform from skeptical to amazed after the first bite.
Alright, let's break down exactly what goes into this masterpiece...
Inside the Ingredient List
The Flavor Foundation
Let's start with the star of our show: beef short ribs. You want the thick, meaty English-cut ribs with beautiful marbling running throughout. Don't you dare reach for those thin, sad excuses for ribs that look like they've been on a diet. The fat is your friend here — it renders down during the long braise, creating self-basting magic that keeps the meat juicy and flavorful. When selecting your ribs, look for pieces that are at least two inches thick with a good balance of meat and fat. If your butcher tries to sell you boneless short ribs, smile politely and walk away because the bones add incredible richness to your sauce.
Now, about that cola — and yes, I'm going to be annoyingly specific here. You need the full-sugar version, not diet, not zero, not whatever new "natural" version is trending. The real sugar is crucial for proper caramelization, and artificial sweeteners break down into bitter compounds when heated for long periods. I've tested this with every brand under the sun, and classic Coca-Cola produces the most consistent results. The phosphoric acid tenderizes the meat while the caramel coloring adds depth that expensive balsamic vinegar wishes it could achieve.
The Aromatic Ensemble
Yellow onions form the aromatic backbone of this dish, and I want you to slice them thick enough that they don't disappear into the sauce. These aren't background players — they become jammy and sweet during the braise, creating little pockets of onion candy throughout your final dish. Garlic gets smashed rather than minced because those bigger pieces infuse the sauce with their essence without burning or turning bitter. Fresh thyme is non-negotiable; dried thyme tastes like dust in comparison, and you'll need several sprigs to perfume the entire pot with its woodsy aroma.
Tomato paste might seem out of place, but it's the secret weapon that adds umami depth and helps thicken your sauce to the perfect consistency. Buy the tube stuff, not the can — you'll use a tablespoon here and the rest won't mold in your fridge like the canned version inevitably does. Worcestershire sauce brings that mysterious savory quality that makes people ask "what's in this?" while soy sauce adds salt and even more umami without making the dish taste Asian.
The Unexpected Stars
Here's where things get interesting. A single bay leaf adds subtle floral notes that you can't quite identify but would miss if it weren't there. Whole peppercorns get toasted alongside the meat, releasing their oils and adding gentle heat that builds as you eat. The real game-changer? A tablespoon of Dijon mustard that disappears into the sauce but adds tangy complexity that balances the sweetness from the cola.
Everything's prepped? Good. Let's get into the real action...
The Method — Step by Step
- Preheat your oven to 325°F and position the rack in the lower third. This temperature is crucial — too high and your meat will dry out, too low and it won't break down properly. Pat your short ribs absolutely dry with paper towels; moisture is the enemy of good browning. Season them aggressively with salt and pepper on all sides, using way more than you think you need because most of it will end up in the braising liquid anyway.
- Heat a heavy Dutch oven over medium-high heat until it's screaming hot. Add just enough oil to coat the bottom — we're talking two tablespoons max. Sear the short ribs in batches, taking your time to develop a deep mahogany crust on every side. This step isn't optional; those brown bits (fond) stuck to the bottom of the pan are liquid gold that will flavor your entire dish. Each batch should take about four minutes per side, and your kitchen should start smelling like the best steakhouse in town.
- Remove the seared ribs to a plate and immediately add your thick-sliced onions to the pot. Don't touch them for at least two minutes — let them develop their own charred edges that add another layer of flavor. Scrape the bottom of the pot with a wooden spoon to loosen all those beautiful browned bits. The onions will release their moisture and help deglaze the pan naturally, creating the foundation of your sauce.
- Add your smashed garlic cloves and let them sizzle for just thirty seconds — any longer and they'll turn bitter. Stir in the tomato paste and cook until it darkens to a deep brick red, about two minutes. This caramelization transforms the paste from raw and tinny to rich and complex. Your kitchen should smell like you're cooking something incredibly sophisticated, which you absolutely are.
- Now comes the moment of truth — pour in that entire can of cola slowly because it's going to foam up like a science experiment. The carbonation will help lift all those stuck bits while the sugars begin their caramelization journey. Add the Worcestershire sauce, soy sauce, and Dijon mustard, whisking to combine everything into a glossy, mahogany-colored liquid that smells absolutely incredible.
Watch Out: The cola will foam dramatically when it hits the hot pan — pour slowly and keep a wooden spoon handy to stir down the foam before it overflows.
- Nestle those beautiful short ribs back into the pot, bone-side up so the meat stays submerged. Tuck the thyme sprigs between the ribs, add the bay leaf and peppercorns, then bring everything to a gentle simmer. Cover the pot with a tight-fitting lid and transfer it to your preheated oven. This is where the magic happens — the low, steady heat will transform tough collagen into silky gelatin over the next three hours.
- After two hours, flip the ribs so they're bone-side down and baste them with the cooking liquid. The sauce should be reducing and thickening, coating your spoon like warm caramel. If it's getting too thick, add a splash of water; if it's too thin, remove the lid for the final hour of cooking. Your house should smell like heaven by now, and neighbors might start dropping by with excuses about borrowing sugar.
- Test for doneness after three hours — the meat should yield easily to gentle pressure from tongs, and a fork should slide in with almost no resistance. Remove the ribs to a plate and tent them with foil. Strain the sauce through a fine-mesh sieve, pressing on the solids to extract every drop of flavor. Skim off the fat (or don't, I won't judge) and return the sauce to the pot to reduce further until it coats the back of a spoon.
That's it — you did it. But hold on, I've got a few more tricks that'll take this to another level...
Insider Tricks for Flawless Results
The Temperature Rule Nobody Follows
Here's the thing about braising that most recipes gloss over — your oven temperature matters less than the actual temperature of the liquid in your pot. Invest in an oven thermometer because most home ovens run hot or cold by up to 50 degrees. You want your braising liquid to maintain a gentle simmer, with just occasional bubbles breaking the surface. Too vigorous and your meat will seize up and become tough; too gentle and it won't break down properly. I check after the first hour and adjust my oven temperature accordingly, sometimes going as low as 300°F or as high as 340°F depending on how my particular oven is behaving that day.
Why Your Nose Knows Best
Trust your sense of smell throughout this process. When the ribs first go into the oven, you should smell savory, meaty aromas. After an hour, the scent should deepen and become more complex. If at any point it starts to smell sharp or acrid, your heat is too high and you're burning the sugars. The final hour should smell almost like caramel with meaty undertones — that's the cola working its magic, creating a sauce that's both sweet and deeply savory. A friend once told me that when she makes this recipe, her entire apartment building smells incredible, and random neighbors knock on her door asking what she's cooking.
The 5-Minute Rest That Changes Everything
After you remove the ribs from the oven, let them rest in their liquid for exactly five minutes before transferring to a plate. This brief rest allows the meat to reabsorb some of the juices, ensuring every bite is succulent rather than dry. While they're resting, the sauce continues to reduce and concentrate in the hot pot. Skim off any excess fat now — it will have risen to the top and be easy to remove. This simple step transforms a good dish into an unforgettable one, and it's the difference between home cooking and restaurant-quality results.
The Secret Ingredient Addition
Here's something I discovered by accident — add a teaspoon of instant espresso powder to the sauce during the final reduction. It doesn't make the dish taste like coffee; instead, it amplifies the beef flavor and adds a mysterious depth that makes people ask for your secret. The bitterness balances the sweetness from the cola perfectly, creating a more sophisticated final product. I've won over coffee-haters with this trick, and they never know why the sauce tastes so incredibly rich and complex.
Why Bone-In Always Wins
Never, ever substitute boneless short ribs for bone-in. The bones act as natural flavor conductors, adding gelatin and minerals to your sauce that create that lip-smacking, spoon-coating texture you get in professional kitchens. Plus, the marrow melts into the braising liquid, adding unctuous richness that boneless cuts simply can't match. If you absolutely must use boneless, add a cup of homemade beef stock to compensate, but honestly, just wait until you can find bone-in ribs — your patience will be rewarded with exponentially better results.
Creative Twists and Variations
This recipe is a playground. Here are some of my favorite ways to switch things up:
The Spicy Korean Fusion
Swap the cola for Korean cream soda and add two tablespoons of gochujang to the braising liquid. The result is sticky, spicy ribs with a unique sweetness that'll have everyone begging for more. Finish with sliced scallions and toasted sesame seeds for a restaurant-quality presentation that tastes like you spent hours perfecting a complex Korean recipe. The fermented chili paste adds incredible umami depth while the cream soda provides the same tenderizing properties as regular cola.
The Smoky BBQ Version
Add two tablespoons of liquid smoke and a teaspoon of smoked paprika to your braising liquid, then finish the ribs under the broiler with your favorite BBQ sauce. The cola caramelizes with the smoke flavor to create that authentic barbecue taste without requiring a smoker or twelve hours of cooking. It's like having summer barbecue in the middle of winter, and your house will smell like a backyard cookout even when there's snow on the ground.
The Asian-Inspired Twist
Replace the soy sauce with tamari and add star anise, cinnamon stick, and orange peel to the braise. The cola works beautifully with these Asian flavors, creating a fusion dish that's both familiar and exotic. Serve over rice noodles with the reduced sauce spooned over the top, garnished with cilantro and lime wedges for brightness. This version became my go-to for dinner parties when I want to impress without stress.
The Bourbon Street Variation
Replace half the cola with your favorite bourbon and add a teaspoon of liquid smoke. The alcohol cooks off, leaving behind incredible depth and a subtle smokiness that transports you straight to New Orleans. Add some Cajun seasoning to the rub and finish with chopped parsley and Crystal hot sauce on the side. It's like Mardi Gras in your mouth, and yes, it's acceptable to play jazz while you eat these.
The Mexican Coca-Cola Upgrade
If you can find Mexican Coca-Cola (made with real cane sugar instead of corn syrup), use it for an even more complex flavor profile. The cane sugar caramelizes differently, creating deeper, more interesting notes in your final sauce. It's worth seeking out at Latin markets, and once you taste the difference, you might find yourself hoarding bottles like a cola connoisseur. The subtle flavor difference is noticeable to anyone who's tried both versions.
The Vegetarian Adaptation
Okay, okay, I know this defeats the purpose of short ribs, but hear me out: use large portobello mushrooms in place of meat and follow the same method. The cola creates an incredible glaze on the mushrooms, and while it's not the same as beef, it's surprisingly satisfying for your vegetarian friends. The umami from the mushrooms pairs beautifully with the sweet-savory sauce, creating a dish that even carnivores will enjoy as a side.
Storing and Bringing It Back to Life
Fridge Storage
Store your leftover ribs in an airtight container submerged in their sauce — this prevents them from drying out and allows the flavors to continue melding together. They'll keep for up to four days in the refrigerator, but honestly, they've never lasted more than two days in my house. The sauce will thicken considerably when cold, almost like meat jelly, but don't panic — it loosens up beautifully when reheated. Separate the meat from the bones for easier storage and reheating, and save those bones for making an incredible beef stock later.
Freezer Friendly
These ribs freeze exceptionally well for up to three months, making them perfect for meal prep or emergency comfort food. Portion them into individual servings with plenty of sauce, and they'll thaw quickly for weeknight dinners when you need something satisfying but don't want to cook. Freeze in flat, stackable containers to maximize freezer space, and always label with the date because you'll want to use the oldest batches first. The sauce might separate slightly upon thawing, but a gentle reheat with a splash of water brings everything back together perfectly.
Best Reheating Method
Low and slow is the name of the game when reheating these beauties. Place them in a covered pan with a splash of water or beef stock over low heat, allowing them to warm gradually without becoming tough. The microwave works in a pinch, but you'll lose that gorgeous texture that makes these ribs special. If you're reheating from frozen, thaw overnight in the refrigerator first for best results. Add a tiny splash of fresh cola during reheating to brighten the flavors and restore that glossy sheen to your sauce.