I remember the night it all began. My friends had dared me to whip up a wing dish that could outshine every BBQ legend, and I had no idea I was about to become a legend myself. I stared at the fresh chicken wings in my fridge, feeling the weight of that challenge like a rodeo rope around my neck. The kitchen smelled of anticipation, the air thick with the promise of something sweet, spicy, and downright addictive. I was determined to create a sauce that would make the wings sing like a choir of fireworks.
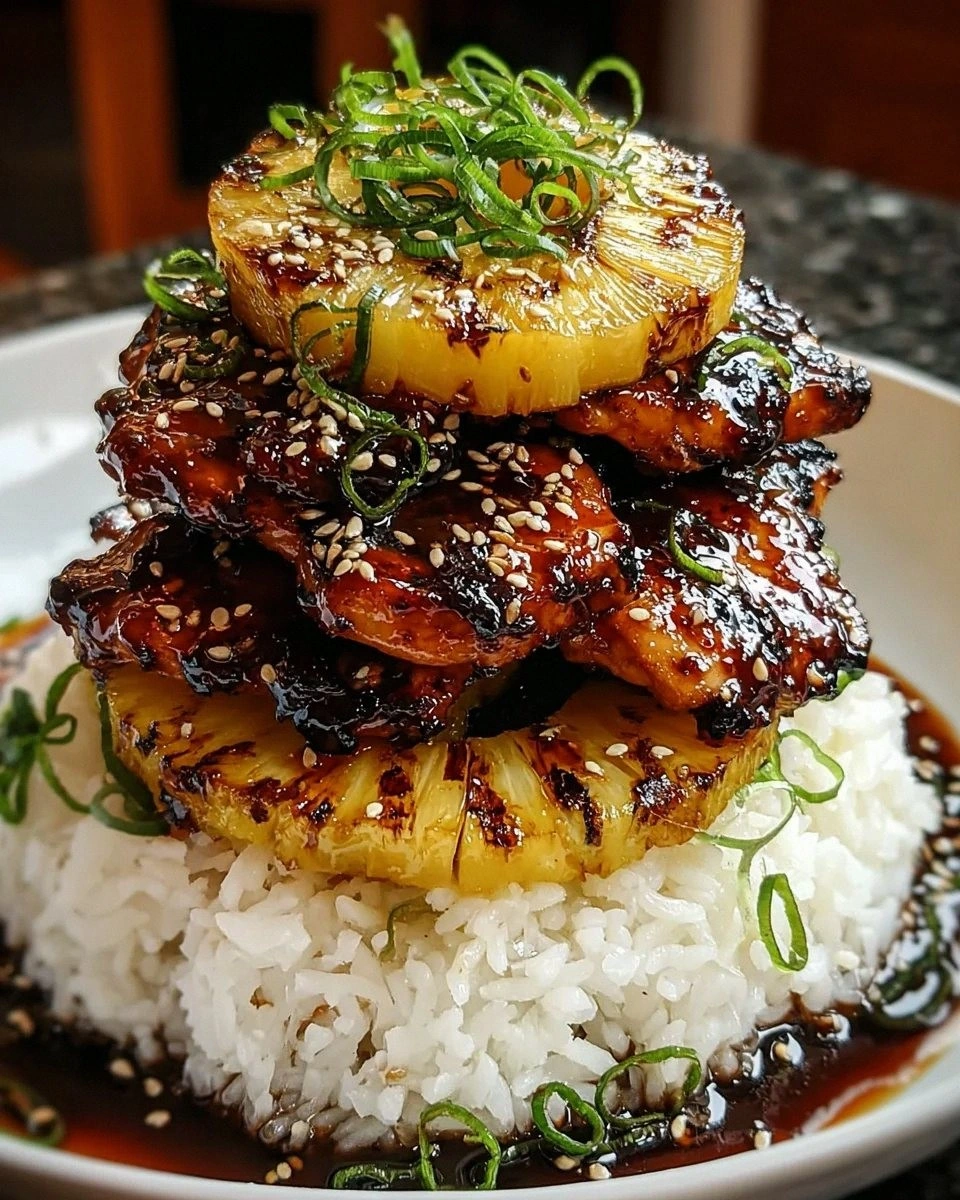
The first time I tasted the finished product, the world seemed to tilt on its axis. The glaze clung to the wings like velvet, coating each bite with a caramelized sweetness that danced against the heat of chili flakes. The aroma—sweet pineapple, smoky honey, and a whisper of apple cider vinegar—filled the room, turning the kitchen into a carnival of flavors. It was a sensory explosion: the crackle of the wings as they cooked, the sticky sheen of the glaze, the faint hiss of sugar caramelizing, and the sharp tang of vinegar cutting through the sweetness. Every bite felt like a miniature celebration.
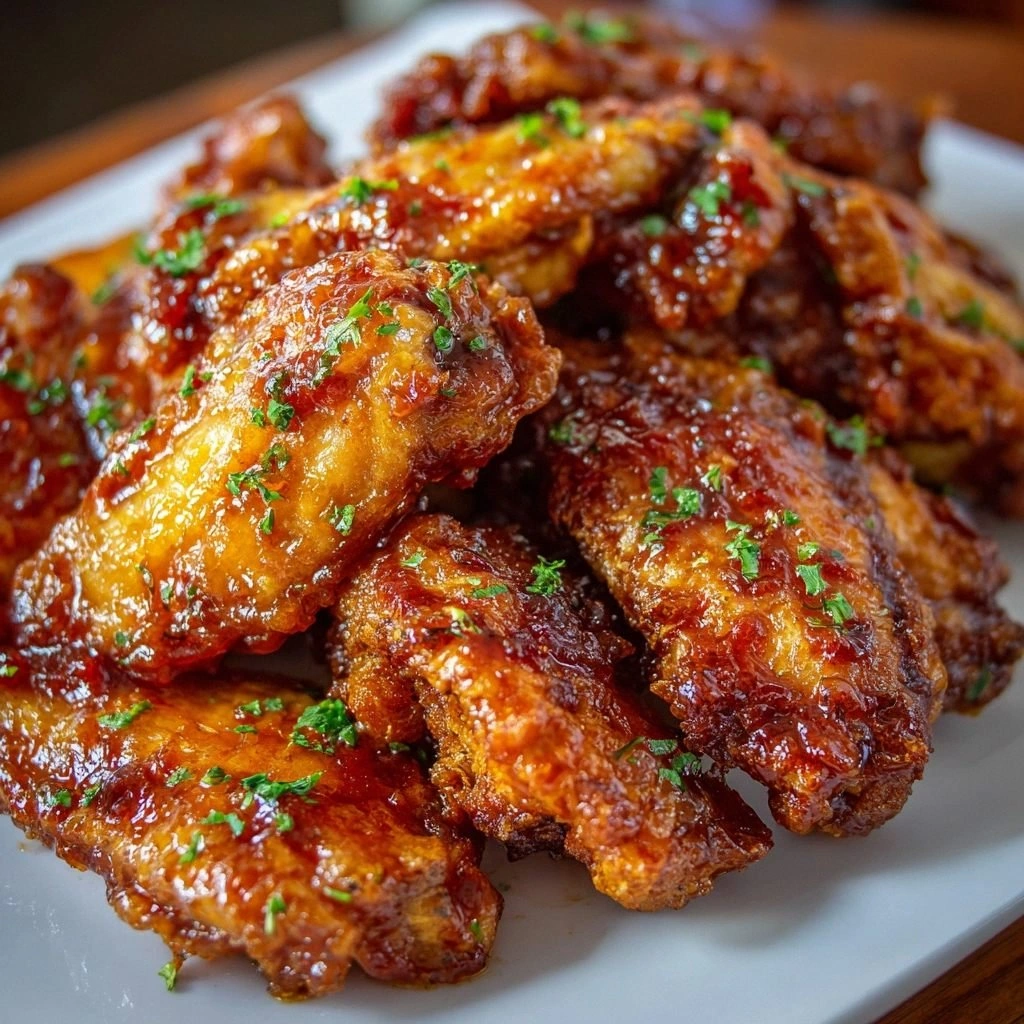
This version of Pineapple Cowboy Candy Chicken is hands down the best you’ll ever make at home. I dare you to taste this and not go back for seconds, because once you experience the perfect balance of sweet, spicy, and savory, you’ll find yourself reaching for that extra handful. Most recipes get this completely wrong, using too much sugar or too little heat, but I’ve cracked the secret formula that delivers a glaze that’s sticky, not cloying, and a heat that’s just enough to wake up your taste buds.
What sets this recipe apart is the unexpected twist of pineapple juice, which not only sweetens but also tenderizes the wings, giving them a juicy core that melts in your mouth. The combination of honey and brown sugar creates a caramelized crust that snaps like thin ice when you bite into it. The addition of apple cider vinegar provides a subtle acidity that balances the sweetness, preventing the dish from feeling syrupy. The result is a sauce that coats the wings like a second skin, creating a texture that’s both crispy on the outside and succulent on the inside.
Picture yourself pulling this out of the oven, the whole kitchen smelling incredible, and your friends’ eyes widening as they see the glossy, golden-brown wings. The moment you plate them, the glaze gleams like a freshly minted coin, and the aroma alone can bring a room to its knees. The first bite is a cascade of flavors—sweet pineapple, smoky honey, a kick of chili, and a hint of garlic—each element playing off the others in perfect harmony. I’ve spent hours tweaking this recipe, and every adjustment has brought me closer to the flawless version you’ll find below.
If you've ever struggled with wing sauces that taste either too sweet or too bland, you're not alone—and I've got the fix. The secret lies in the balance of ingredients and the timing of when you add each component. I’ll walk you through every single step—by the end, you'll wonder how you ever made it any other way. So grab your apron, set your oven to the right temperature, and let’s get cooking.
I’ve spent countless nights experimenting, and the result is a sauce that’s both sticky and crisp, sweet and spicy, and utterly addictive. The combination of pineapple juice and honey gives the wings a tropical kick, while the brown sugar adds depth and caramelization. Chili flakes provide that fiery edge, and garlic powder gives a savory backbone. Salt, of course, is the unsung hero that brings everything together, making the glaze cling to every nook and cranny.
Let’s dive into the details and discover why this recipe is a culinary masterpiece that will have your guests begging for the recipe. By the time you finish reading, you’ll be ready to turn your kitchen into a one-wings‑only wonderland.
What Makes This Version Stand Out
- Sweetness: The blend of pineapple juice, honey, and brown sugar creates a glaze that’s sweet without being cloying, delivering a caramelized finish that’s both glossy and flavorful.
- Heat: Chili flakes add just the right amount of kick, ensuring the dish is spicy enough to excite the palate but not so hot that it overwhelms the sweetness.
- Texture: The glaze forms a crisp, slightly brittle crust that snaps on contact, offering a satisfying contrast to the tender, juicy interior of the wings.
- Flavor Complexity: Apple cider vinegar introduces a subtle acidity that cuts through the sweetness and balances the overall profile, preventing the sauce from feeling too heavy.
- Ease of Preparation: The recipe requires minimal steps and ingredients, making it perfect for a quick weeknight meal or a weekend gathering.
- Crowd Appeal: Whether you’re hosting a backyard barbecue or a cozy dinner, these wings are guaranteed to be a crowd-pleaser, drawing smiles and compliments alike.
- Make‑Ahead Potential: The glaze can be prepared ahead of time and stored, allowing you to assemble and bake the wings just before serving.
- Ingredient Quality: Using fresh pineapple juice and high‑quality honey ensures that each component shines, elevating the entire dish.
Alright, let's break down exactly what goes into this masterpiece…
Inside the Ingredient List
The Flavor Base
Chicken Wings are the star of the show. These wings provide a juicy base for the dish, and when cooked to perfection, they become tender and flavorful. I always opt for fresh wings, as they yield the best results. If you’re using frozen wings, thaw them completely and pat them dry to ensure crispness.
Pineapple Juice adds a delightful sweetness and acidity, enhancing the overall flavor profile. It’s like a tropical hug for your taste buds! Whether you use fresh or canned, just make sure it’s 100% juice for the best flavor. If you prefer a stronger pineapple punch, increase the amount slightly or add a splash of pineapple concentrate.
Brown Sugar contributes to the caramelization and sweetness of the glaze. Brown sugar gives the wings that irresistible sticky texture. It’s the secret to achieving that beautiful golden‑brown color that makes them visually appealing. If you’re watching your sugar intake, you can substitute half the brown sugar with coconut sugar for a slightly different caramel note.
The Sweet & Sticky Layer
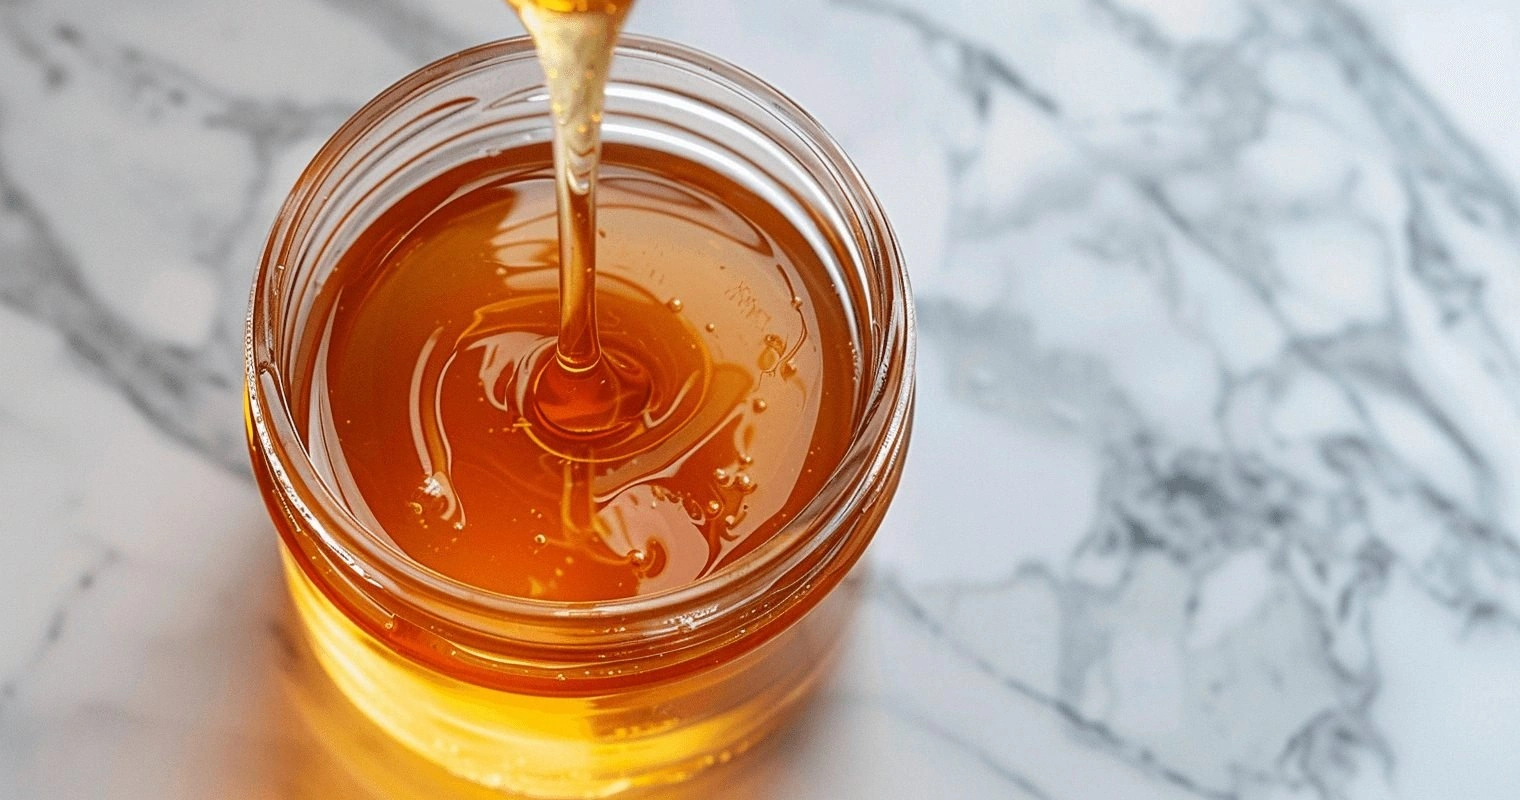
Honey enhances the sweetness and adds a rich flavor to the marinate. If you’re looking for a vegan option, feel free to substitute it with agave syrup—just as delicious! Honey’s natural viscosity helps the glaze cling to the wings, creating that signature sticky crust. For an even deeper flavor, you can lightly toast the honey with a pinch of salt before mixing.
Apple Cider Vinegar provides acidity, balancing the sweetness and enhancing the depth of flavor. It’s a little tangy kick that rounds out the dish beautifully. The vinegar also helps tenderize the wings slightly, ensuring a juicy bite. If you’re not a fan of vinegar, a splash of lime juice can offer a similar bright acidity.
Chili Flakes add the spicy kick that contrasts perfectly with the sweetness. Adjust the amount according to your personal preference—go bold or keep it mild! For a smoky twist, try smoked paprika alongside the chili flakes. If you want a more subtle heat, replace chili flakes with a dash of cayenne pepper.
The Savory Backbone
Garlic Powder introduces savory notes that complement the sweetness of the glaze. It’s a pantry staple that adds depth and richness to the overall flavor. If you prefer a fresher garlic flavor, use minced garlic instead; just be sure to reduce the amount slightly to avoid overpowering the glaze.
Salt is essential for enhancing all flavors and balancing the sweetness. A little goes a long way in making your wings truly shine. Use kosher or sea salt for a cleaner flavor. If you’re on a low‑sodium diet, reduce the salt by about a third and adjust to taste.
If you want to elevate the flavor even further, sprinkle a pinch of smoked sea salt on the wings just before serving. This adds a subtle smokiness that pairs beautifully with the caramelized glaze.
The Final Flourish
The final flourish of the glaze is what sets this dish apart from the rest. The combination of sweet, spicy, and savory creates a multi‑dimensional flavor profile that’s hard to resist. The glaze’s glossy finish is as pleasing to the eye as it is to the palate.
When you’re ready to serve, drizzle a little extra pineapple juice over the wings for a burst of fresh fruitiness. This final touch adds a bright, refreshing note that balances the richness of the glaze. Serve the wings hot off the oven for the best texture and flavor.
Everything’s prepped? Good. Let’s get into the real action…
The Method — Step by Step
- Preheat the oven. Set it to 425°F (220°C) and line a baking sheet with parchment paper. Place a wire rack on top so the wings can roast on a raised surface, allowing the heat to circulate evenly. This ensures a crisp exterior without sogginess. While the oven is heating, gather all your ingredients and set them within arm’s reach.
- Season the wings. Pat the wings dry with paper towels to remove excess moisture; this step is crucial for achieving that golden crust. Toss the wings in a large bowl with a pinch of salt and a sprinkle of garlic powder. The salt will help draw out moisture and enhance the glaze’s adhesion. Give the wings a gentle toss to coat them evenly.
- First bake. Arrange the seasoned wings in a single layer on the prepared rack. Bake for 20 minutes, flipping halfway through, until the skin starts to brown and the wings are cooked through. The internal temperature should reach 165°F (74°C). This initial bake helps the wings firm up, making them ready for the glaze.
- Make the glaze. While the wings are baking, combine pineapple juice, brown sugar, honey, apple cider vinegar, chili flakes, and a pinch of salt in a small saucepan. Heat over medium heat, stirring constantly, until the sugar dissolves and the mixture thickens into a syrupy consistency. The glaze should be thick enough to coat the back of a spoon but still pourable. This step is where the magic happens.
- Coat the wings. Remove the wings from the oven and transfer them to a large bowl. Pour the hot glaze over the wings and toss gently to ensure each wing is fully coated. The glaze should cling to the wings, creating a glossy sheen. Let the wings sit for a minute to allow the glaze to set slightly.
- Second bake. Return the glazed wings to the oven and bake for an additional 10–12 minutes, or until the glaze caramelizes and forms a slightly blistered crust. Watch closely; the glaze can go from perfect to burnt quickly. This step locks in the flavors and gives the wings that signature crispness.
- Watch Out: Keep an eye on the glaze during the second bake; it can brown rapidly and become bitter if left too long. If you notice the glaze starting to look too dark, lower the oven temperature by 25°F (about 15°C) and continue baking until the glaze is caramelized but not burnt. The key is to balance the caramelization with the sweet notes.
- Rest the wings. Once the wings are done, remove them from the oven and let them rest for 5 minutes. This allows the juices to redistribute, ensuring each bite remains moist. During this short rest, the glaze will thicken slightly, giving the wings a more substantial coating.
- Optional final glaze. For an extra glossy finish, drizzle a thin layer of pineapple juice or a splash of honey over the wings before serving. This final touch adds brightness and enhances the tropical flavor profile.
- Serve and enjoy. Arrange the wings on a platter, sprinkle with a pinch of smoked sea salt if desired, and serve hot. Pair them with a chilled beer or a refreshing glass of iced tea for the ultimate experience. Watch your guests’ faces light up as they dig in.
Insider Tricks for Flawless Results
The Temperature Rule Nobody Follows
Many cooks set their oven to 400°F, thinking it’s the sweet spot for wings. I’ve found that 425°F (220°C) gives a superior crispness without drying out the meat. The higher temperature allows the glaze to caramelize faster, creating that desirable blistered crust. If your oven runs hot, lower the temperature by 25°F to avoid burning.
Why Your Nose Knows Best
Before you even taste the wings, give them a sniff. A strong, sweet aroma indicates the glaze is caramelizing properly. If the smell is more like raw sugar, let them bake a few minutes longer. Trust your nose; it’s a reliable indicator of doneness.
The 5-Minute Rest That Changes Everything
After the second bake, let the wings rest for exactly five minutes. This short pause allows the juices to redistribute, ensuring every bite remains moist. The glaze will also thicken slightly, making it cling better to the wings. Skipping this step can result in a dry interior.
Use a Wire Rack for Even Cooking
A wire rack elevates the wings, allowing hot air to circulate around them. This prevents the wings from steaming in their own juices, which would produce a soggy exterior. If you don’t have a rack, place a layer of parchment on the baking sheet and flip the wings halfway through.
Keep the Glaze Warm
If you need to wait before baking the glazed wings, keep the glaze warm on low heat. A cold glaze will harden and make it difficult to coat the wings evenly. Warm it gently, stirring occasionally, and it will remain pourable.
Finishing Touch: Smoked Sea Salt
A pinch of smoked sea salt added just before serving gives the wings a subtle, smoky undertone that complements the tropical glaze. It also enhances the overall flavor complexity. If you’re watching sodium, use a light hand—one pinch is enough.
Creative Twists and Variations
This recipe is a playground. Here are some of my favorite ways to switch things up:
Hawaiian BBQ
Swap pineapple juice for a mix of pineapple juice and teriyaki sauce. Add a splash of coconut milk to the glaze for a creamy texture. Serve with a side of grilled pineapple slices for a true island vibe.
Spicy Chipotle
Add a tablespoon of chipotle in adobo sauce to the glaze for a smoky heat. Replace chili flakes with smoked paprika for a deeper flavor. Finish with a drizzle of lime juice to cut the sweetness.
Sweet & Sour
Introduce a splash of rice vinegar to the glaze for a tangy twist. Sweeten with a touch of maple syrup instead of honey for a richer, deeper sweetness. Garnish with fresh cilantro for an herbaceous finish.
Herb‑Infused
Add a handful of chopped fresh thyme or rosemary to the glaze for an aromatic dimension. The herbs pair beautifully with the pineapple’s sweetness. Let the wings rest for a few minutes after glazing to allow the herbs to infuse.
Low‑Sugar Version
Use a sugar‑free sweetener like stevia or monk fruit in place of brown sugar. Keep the honey for natural sweetness. This version maintains the glaze’s texture while reducing calories.
Vegan Delight
Replace the chicken wings with tofu or tempeh strips. Marinate them in the same glaze and bake until golden. The result is a plant‑based version that still delivers the sweet, spicy, and savory notes.
Storing and Bringing It Back to Life
Fridge Storage
Cool the wings completely before placing them in an airtight container. Store in the refrigerator for up to 3 days. The glaze will thicken slightly, so a quick reheat is recommended before serving.
Freezer Friendly
Freeze the glazed wings on a baking sheet, then transfer to a freezer bag. They can be stored for up to 2 months. Thaw overnight in the refrigerator before reheating. This method preserves flavor and texture.
Best Reheating Method
Reheat the wings in a 350°F (175°C) oven for 10 minutes, or until heated through. Add a splash of water or pineapple juice to keep them moist. A quick sear under the broiler for 1–2 minutes will restore the crisp crust.
Add a tiny splash of water before reheating — it steams back to perfection, keeping the glaze from drying out and preserving that sticky, caramelized finish.