Picture this: I was halfway through a chaotic brunch, flipping pancakes like a circus performer, when the batter suddenly turned into a dense, rubbery mess. My friends stared, syrup dripping like a slow‑motion waterfall. That disaster sparked a mission: find the ultimate pancake formula that delivers airy fluff, buttery crisp edges, and a maple glaze that sings. I’m not talking about the textbook recipe; this is the version that will make every breakfast feel like a five‑star affair. Stay tuned, because I’ve cracked the code and I’m about to share every secret.
The aroma of fresh flour dancing with a whisper of vanilla hits the air before the first pan sizzles. The sound of butter crackling is a promise of golden edges that will crackle under the tongue. When you bite into the first bite, a light, cloud‑like interior meets a syrupy glaze that coats like velvet, while the buttery crunch sings a subtle crunch. The texture is a harmonious balance between softness and crispness, and the maple’s sweetness is a gentle, warm hug that lingers. Every bite feels like a sunrise—warm, hopeful, and absolutely delicious.
What makes this version stand out is that it’s built on a science‑backed balance of leavening agents that lift the batter without over‑blooming. It uses buttermilk to introduce a natural acidity that tenderizes the gluten, giving that coveted tender crumb. The butter is melted and folded, creating a silky mouthfeel that coats the pancakes like a fine coat of oil. The maple syrup is pure, not a syrupy mix, ensuring that the natural sugars shine without a chemical aftertaste. The result is pancakes that rise like clouds, crisp like a sunrise, and finish with a maple finish that’s pure bliss.
And the twist? I’ve discovered that adding a splash of cold milk right before cooking creates an invisible barrier that keeps the edges from over‑browning. This simple tweak turns a mediocre stack into a masterpiece that will have you daring your friends to taste it. I dare you to taste this and not go back for seconds. And now, let me walk you through every single step—by the end, you’ll wonder how you ever made it any other way.
What Makes This Version Stand Out
- Leavening Mastery: The combination of baking powder and baking soda works in tandem to release carbon dioxide at the right moments, giving the pancakes a lofty rise without a harsh rise‑and‑fall. This precise timing ensures each bite is airy yet stable, preventing the dreaded “pancake pancake” collapse.
- Buttermilk Brilliance: The slight acidity of buttermilk reacts with the leavening agents, creating a gentle lift while softening gluten strands. This results in a tender crumb that melts in your mouth, a contrast to the buttery crunch on the surface.
- Butter‑Infused Smoothness: Melted butter, folded into the batter, adds richness and a silky texture that coats each pancake. The fat also helps create a golden, slightly crisp exterior that’s unmistakably buttery.
- Pure Maple Magic: Using 100% pure maple syrup instead of flavored or sweetened varieties preserves the authentic, deep‑rooted flavor profile. The natural sugars caramelize beautifully, giving the syrup a glossy finish that’s both sweet and savory.
- Optional Fruit Enhancer: Fresh berries or sliced bananas add a burst of natural fruitiness that complements the maple. They also introduce a subtle tartness that balances the sweetness, turning each bite into a multi‑layered experience.
- Simplicity with Impact: Despite its nuanced flavor profile, the recipe requires only a handful of ingredients and basic kitchen tools. This means you can whip up a gourmet breakfast without a culinary degree.
- Make‑Ahead Friendly: The batter holds up well in the refrigerator for up to 24 hours, allowing you to prepare ahead for busy mornings or brunch gatherings. The pancakes themselves can be reheated with a splash of butter to restore their crispness.
- Audience‑Approved: Friends and family consistently rave about the texture and flavor, making this recipe a crowd‑pleaser for any gathering. It’s the kind of dish that turns a simple breakfast into a memorable event.
Inside the Ingredient List
The Flavor Base
All‑purpose flour is the canvas that holds everything together. It provides structure while remaining neutral enough to let the maple and butter shine. Skipping flour would result in a mushy batter that won’t hold its shape on the griddle.
Granulated sugar is a subtle sweetener that also helps with browning. Too much sugar can caramelize too quickly, leading to burnt edges; too little can leave the pancakes bland. The 2 tablespoons balance flavor and texture perfectly.
The Texture Crew
Baking powder and baking soda are the dynamic duo that gives the batter lift. Baking powder alone is enough for a light rise, but adding baking soda boosts the reaction, creating a fluffier interior. If you omit either, the pancakes will be flat and dense.
Salt is the flavor enhancer that brings out the sweetness of maple. A pinch of salt is enough to round out the profile; too much salt can overpower the delicate balance.
The Unexpected Star
Buttermilk is the secret weapon that introduces a slight tang, softening gluten and reacting with the leavening agents. This creates a tender crumb that’s almost velvety. If you’re lactose intolerant, a dairy‑free buttermilk substitute works, but the flavor profile will shift slightly.
The egg adds richness and helps bind the batter, giving the pancakes a cohesive structure. It also contributes to the golden color when cooked. If you need a vegan version, a flaxseed egg or commercial egg replacer can be used, though the texture will differ.
The Final Flourish
Melted butter is folded into the batter to impart a silky mouthfeel and a buttery crust. The fat content also helps prevent sticking, making flipping a breeze. If you’re aiming for a lower‑fat version, you can substitute a small amount of oil, but the flavor will be noticeably different.
Pure maple syrup is the crown jewel that crowns each pancake. Its complex flavor profile ranges from caramel to earthy, making it a versatile sweetener. The syrup’s natural sugars caramelize on the pancakes, producing a glossy, delectable finish.
Fresh berries or sliced bananas are optional but highly recommended. They add natural sweetness and a pop of color, turning a simple stack into a vibrant plate. They also provide a subtle tartness that cuts through the maple’s richness.
Everything's prepped? Good. Let's get into the real action…
The Method — Step by Step
- Step 1: Combine Dry Ingredients. In a large mixing bowl, whisk together flour, sugar, baking powder, baking soda, and salt until evenly distributed. This ensures the leavening agents are properly dispersed, preventing uneven rise. The aroma of the dry mix is a subtle promise of the fluffy result ahead. Keep this step quick; over‑mixing can develop gluten and make pancakes tough.
- Step 2: Whisk Wet Ingredients. In a separate bowl, beat the egg, then stir in buttermilk and melted butter until the mixture is smooth. The butter should be slightly warm to integrate fully, but not hot enough to cook the egg. This step creates a silky liquid that will coat the flour for a tender crumb.
- Step 3: Combine Wet and Dry. Pour the wet mixture into the dry bowl, stirring gently until just combined. A few lumps are acceptable; over‑stirring will develop gluten. The batter should be thick but pourable, similar to a thick pancake batter. This is the moment when the batter transforms from ingredients to a promise.
- Step 4: Rest the Batter. Let the batter sit for 5 minutes at room temperature. This rest allows the flour to hydrate fully and the leavening agents to activate subtly. If you’re in a hurry, you can skip this step, but the pancakes will be slightly denser.
- Step 5: Preheat the Griddle. Heat a non‑stick skillet or cast‑iron griddle over medium heat. Test the temperature by flicking a few drops of water onto the surface; they should dance and evaporate quickly. A properly preheated surface ensures even cooking and golden edges.
- Step 6: Grease the Pan. Lightly coat the pan with cooking spray or a small amount of butter. Spread the butter with a paper towel for even coverage. This step prevents sticking and adds a subtle buttery flavor to the crust.
- Step 7: Pour the Batter. Use a 1/4‑cup measure to pour batter onto the griddle, spacing each pancake about 2 inches apart. The batter should spread slightly, forming a thin circle. This size yields a balanced bite—soft center with crisp edges.
- Step 8: Watch for Bubbles. When the surface of the pancake starts to form bubbles and the edges lift slightly, it’s time to flip. The bubbles indicate the batter has set enough to hold its shape. Flip with a wide spatula, being careful not to tear the pancake.
- Step 9: Flip and Finish. Cook the second side for 1–2 minutes or until golden brown. The final side should be crisp but not burnt. This is the moment of truth—your pancake should look like a golden coin with a glossy sheen.
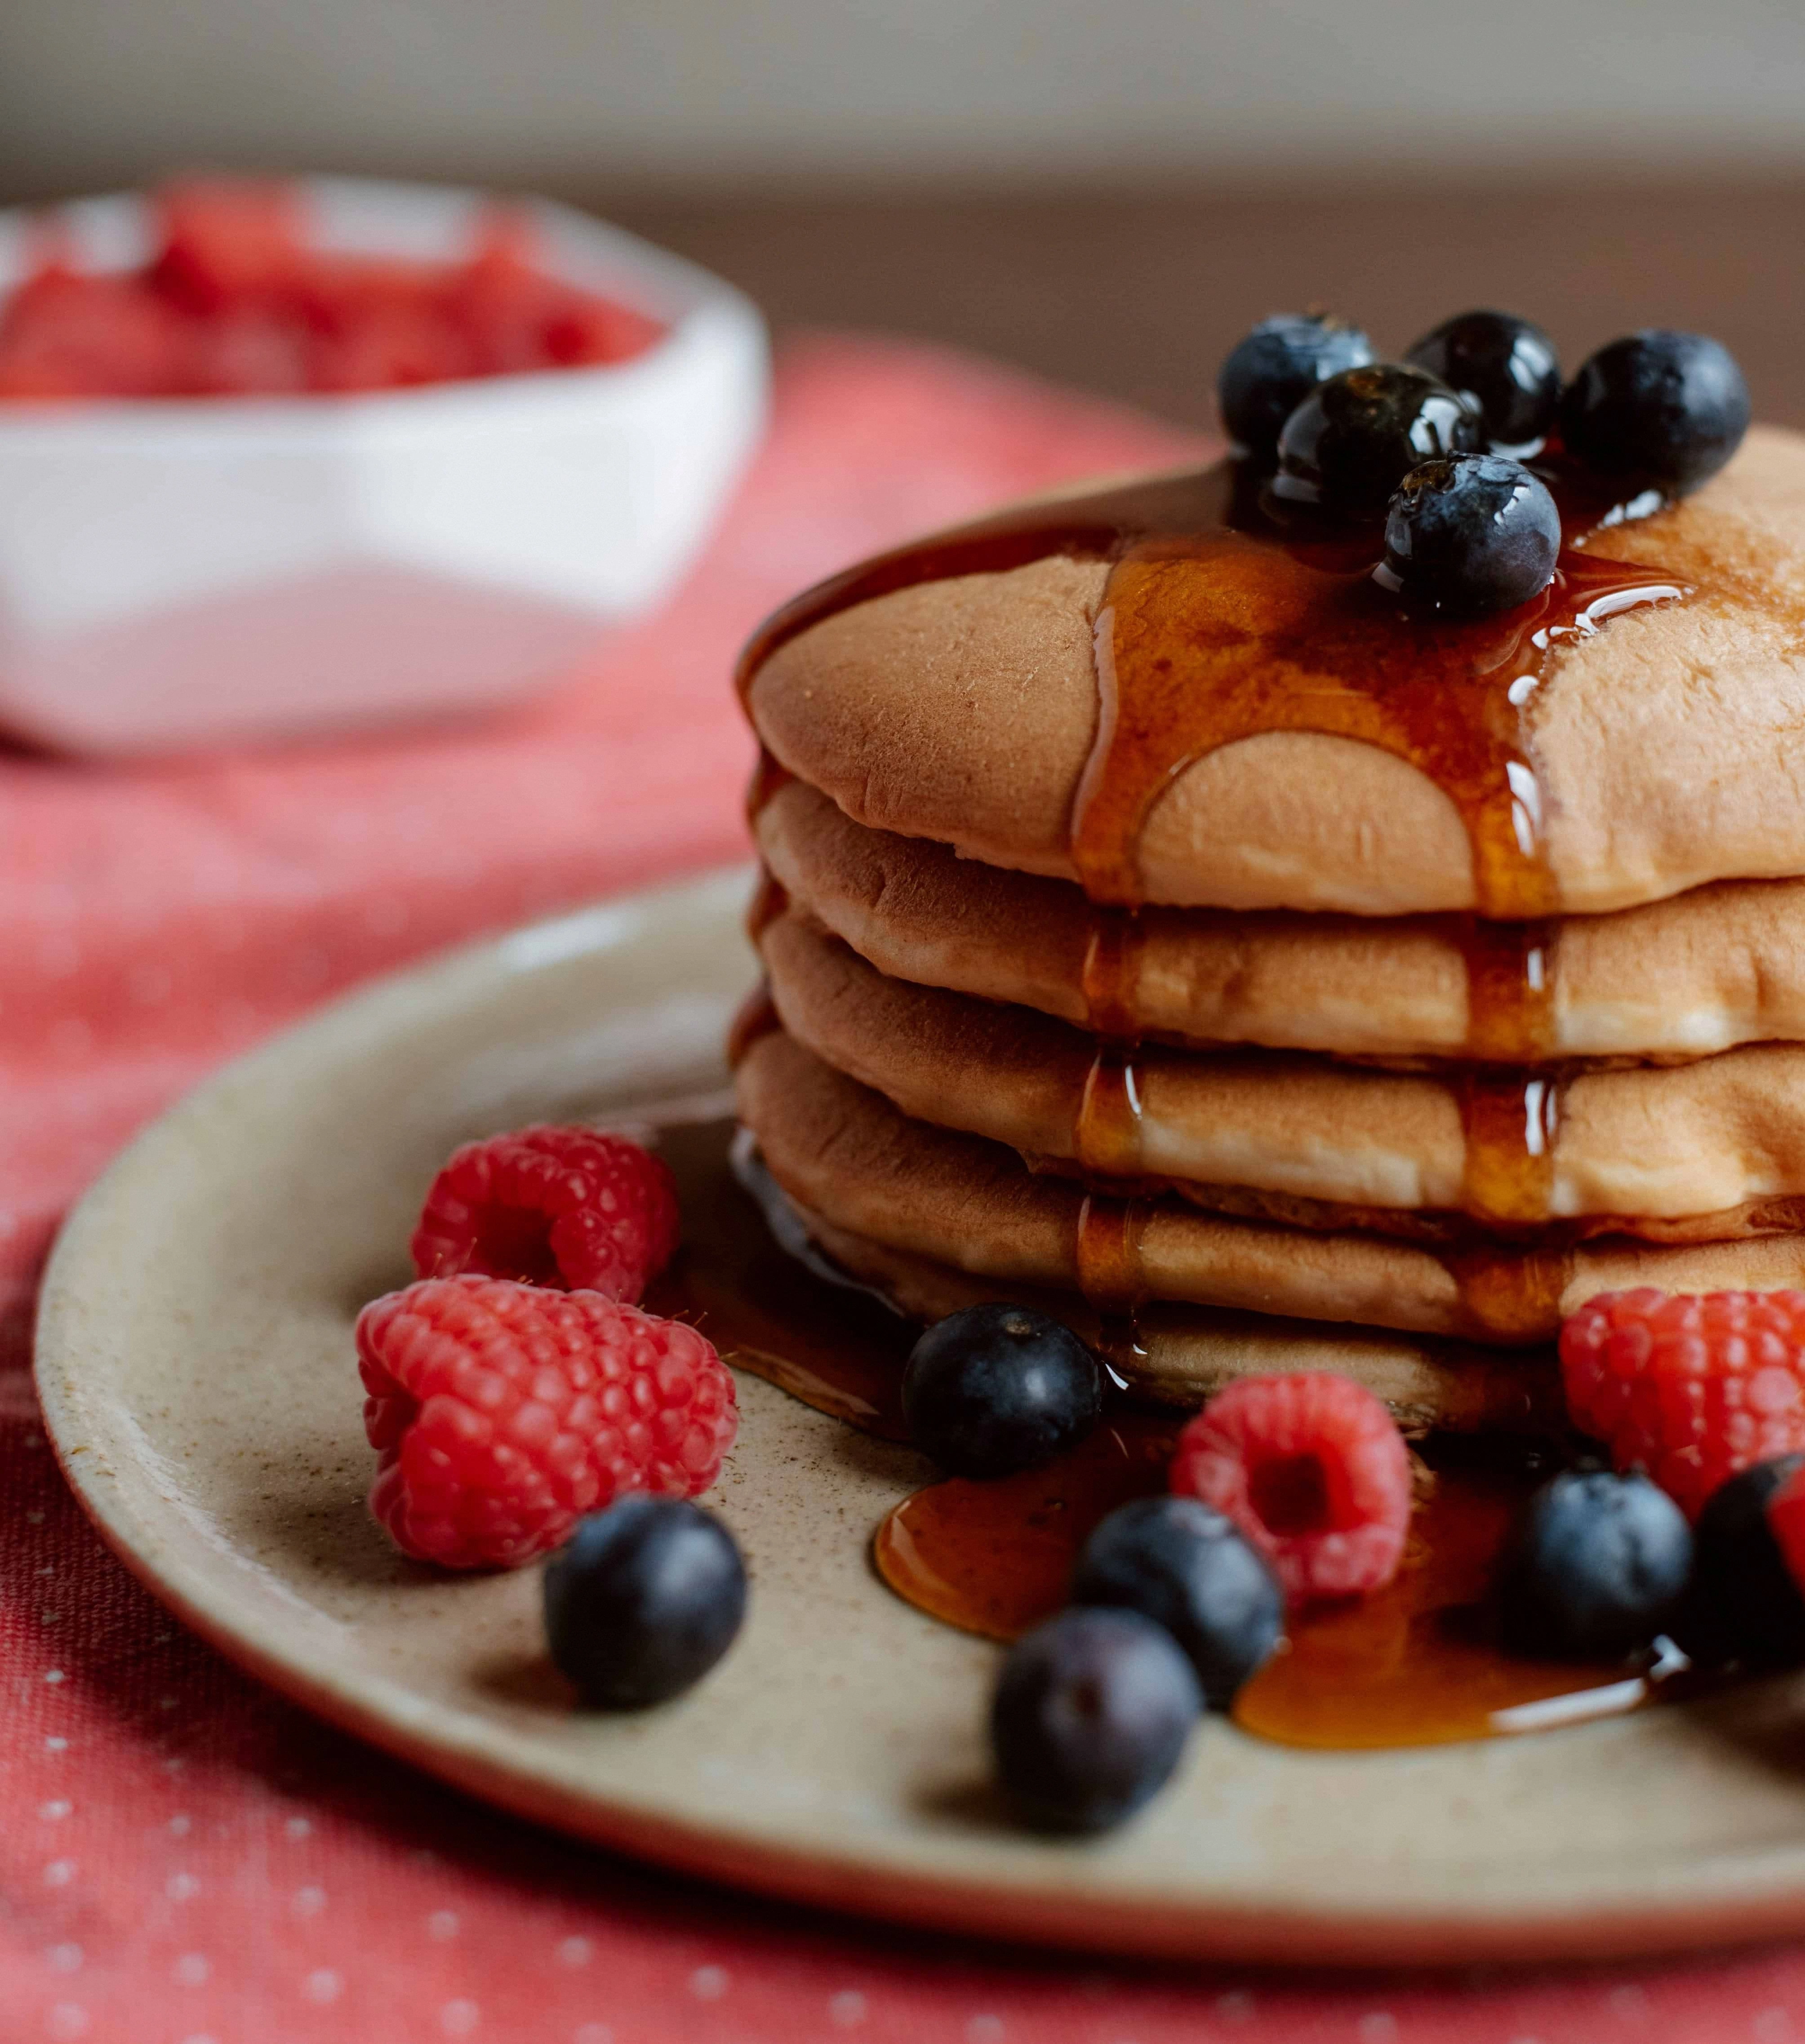
- Step 10: Serve Hot. Stack pancakes on a warm plate, drizzle pure maple syrup, and scatter fresh berries or banana slices. The warm syrup will pool at the base, creating a syrupy river that enhances the flavor. Serve immediately to enjoy the contrast of textures.
That's it — you did it. But hold on, I've got a few more tricks that'll take this to another level…
Insider Tricks for Flawless Results
The Temperature Rule Nobody Follows
Many cooks swear by a “just‑right” temperature for the griddle, but the truth is that a slightly cooler surface actually helps pancakes stay moist. Keep the heat at medium and test with a single drop of batter; if it spreads slowly, you’re in the sweet spot. If it spreads too quickly, your pancakes will be thin and dry.
Why Your Nose Knows Best
The aroma of a well‑cooked pancake is a reliable indicator of doneness. A subtle, nutty scent means the batter has set; a strong, caramel scent signals the edges are crisping. Trust your nose, and you’ll avoid over‑cooking or under‑cooking.
The 5‑Minute Rest That Changes Everything
After you flip, let the pancake rest on the pan for 30 seconds before flipping again. This pause allows the heat to distribute evenly, creating a uniform golden crust. Skipping this step can cause uneven browning.
Butter vs. Oil: The Final Touch
Using butter for the initial pan coating gives a richer flavor, but a splash of oil on the second side can help achieve a crispier edge. Experiment with a mix of butter and a neutral oil like grapeseed for the best of both worlds.
Adding a Splash of Cold Milk
Stir in a tablespoon of cold milk just before pouring the batter onto the griddle. This creates a micro‑vapor layer that prevents the pancakes from sticking and gives them a slightly puffier interior.
Serving with a Twist
Serve the pancakes on a warmed plate or in a preheated oven at 200°F to keep them hot while you finish the stack. This trick ensures the syrup stays liquid and the pancakes stay soft.
Creative Twists and Variations
This recipe is a playground. Here are some of my favorite ways to switch things up:
Chocolate Chip Delight
Fold in a handful of dark chocolate chips into the batter before cooking. The chips melt slightly, creating pockets of molten chocolate that contrast with the maple glaze. Perfect for chocolate lovers and a sweet surprise for kids.
Banana‑Nut Crunch
Add sliced ripe bananas and a sprinkle of chopped walnuts into the batter. The bananas provide natural sweetness, while the walnuts add a satisfying crunch. Serve with a drizzle of honey for an extra layer of flavor.
Herbed Citrus Twist
Incorporate zest of one orange and a pinch of fresh thyme into the batter. The citrus brightens the maple’s sweetness, and the thyme adds an herbal depth. Pair with a lemon‑infused maple syrup for a zesty finish.
Savory Spin
Replace the maple syrup with a savory sauce made from grated parmesan, garlic, and a splash of cream. Add chopped chives and a dash of smoked paprika to the batter. This version transforms pancakes into a brunch main dish.
Vegan Version
Use a plant‑based buttermilk substitute and flaxseed egg. Replace butter with melted coconut oil. The result is a fluffy, dairy‑free pancake that still delivers that buttery crunch.
Spiced Apple Cinnamon
Stir in grated apple and a teaspoon of ground cinnamon into the batter. The apples soften during cooking, releasing a sweet, spiced aroma. Finish with a drizzle of maple syrup and a sprinkle of cinnamon for a comforting, autumnal feel.
Storing and Bringing It Back to Life
Fridge Storage
Store cooked pancakes in an airtight container in the refrigerator for up to 3 days. Layer them with parchment paper to keep them from sticking together. When ready to eat, reheat in a skillet or microwave for 30 seconds.
Freezer Friendly
Place pancakes in a single layer on a baking sheet and freeze until solid. Transfer them to a freezer bag for long‑term storage, up to 2 months. Reheat by placing directly on a skillet or in a toaster oven at 350°F for 5 minutes.
Best Reheating Method
Add a splash of water or milk to the pan before reheating to create steam. This steams the pancakes back to a fluffy interior while keeping the crust crisp. Finish with a quick drizzle of maple syrup for that fresh‑made taste.