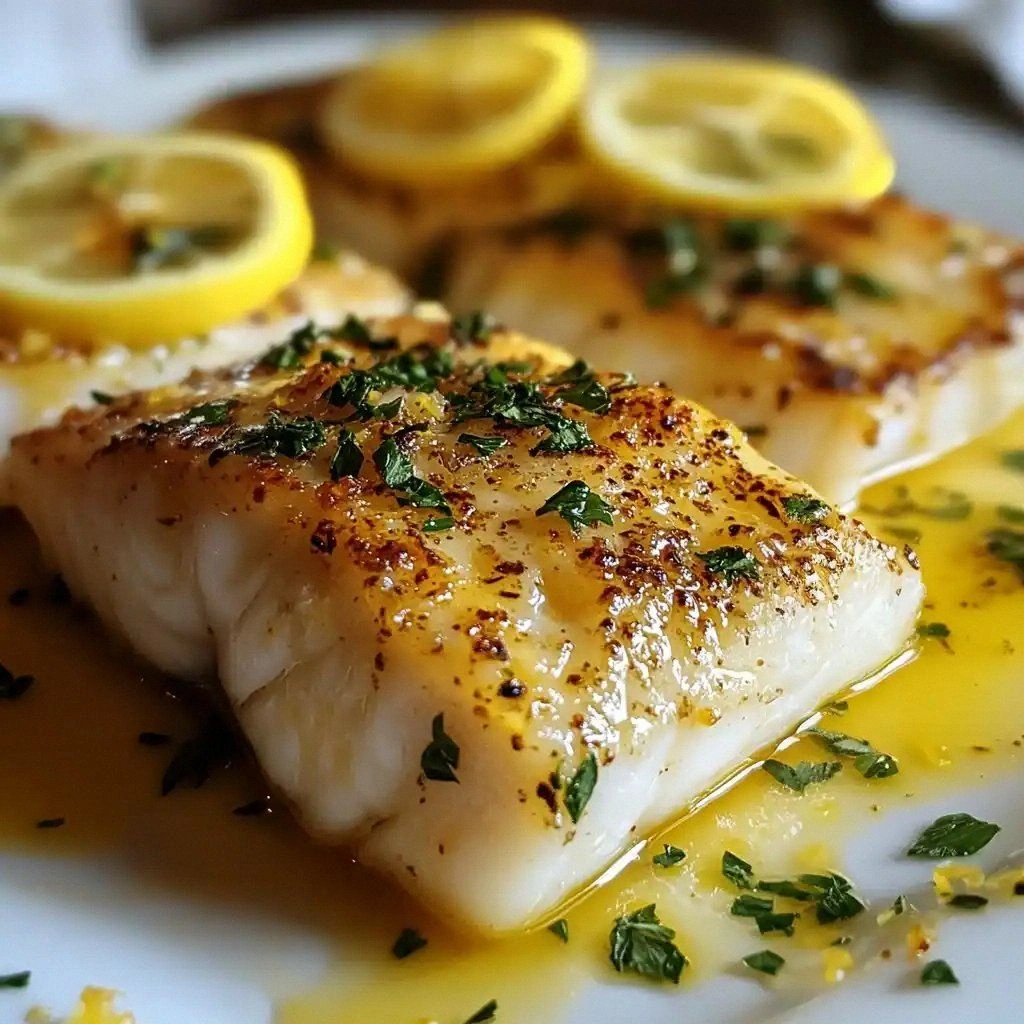
I still remember the night I tried to impress my in‑law with a fancy dinner and ended up with a kitchen that looked like a battle zone. The short ribs were supposed to be the star, but they were under‑seasoned, under‑cooked, and frankly, a sad, dry disappointment. I stared at the pan, felt the heat, and thought, “I’m not going to let this happen again.” That moment sparked a culinary quest that culminated in the Melt‑in‑Your‑Mouth Tender Brai, a dish that has now become my go‑to comfort food and a conversation starter at every gathering.
Picture this: a sizzling pan, the aroma of caramelized onions mingling with garlic, and the sound of a gentle sizzle that whispers “good things are coming.” The air fills with a deep, earthy scent of beef broth and fresh herbs, making your mouth water before you even taste the first bite. When the short ribs finally release their juices, the sauce thickens, coating the meat like velvet, and the tender meat practically melts in your mouth. The contrast between the seared crust and the silky interior is a revelation, a culinary dance that lingers on the palate long after the plate is cleared.
What sets this version apart is not just the ingredients or the technique—though both are meticulously chosen—but the philosophy behind it. I’ve stripped away the fluff, focused on the fundamentals, and added a few secret twists that elevate the dish to something that feels both humble and extravagant. The result is a single, cohesive flavor profile that is rich, comforting, and utterly addictive. I dare you to taste this and not go back for seconds; the first bite will have you begging for more.
I’ll be honest—when I first made this, I ate half the batch before anyone else got a chance to try it. That’s the kind of confidence you get when the flavor is undeniable. The secret is in the slow braise, the careful balance of herbs, and the humble, honest seasoning that lets the meat shine. This isn’t a recipe that relies on gimmicks; it’s a testament to the power of simple, honest cooking that brings people together around a table.
Picture yourself pulling this out of the oven, the whole kitchen smelling incredible, the family gathered around, and everyone reaching for that extra slice of crust. The anticipation is palpable, the steam swirling, and the sound of a satisfied sigh when the first bite is taken. That’s the magic I want to share with you. Let me walk you through every single step—by the end, you’ll wonder how you ever made it any other way.
What Makes This Version Stand Out
- Flavor Depth: The slow braising process extracts every nuance from the bones, creating a broth that’s as rich as a fine wine. The result is a sauce that’s deep, savory, and utterly satisfying.
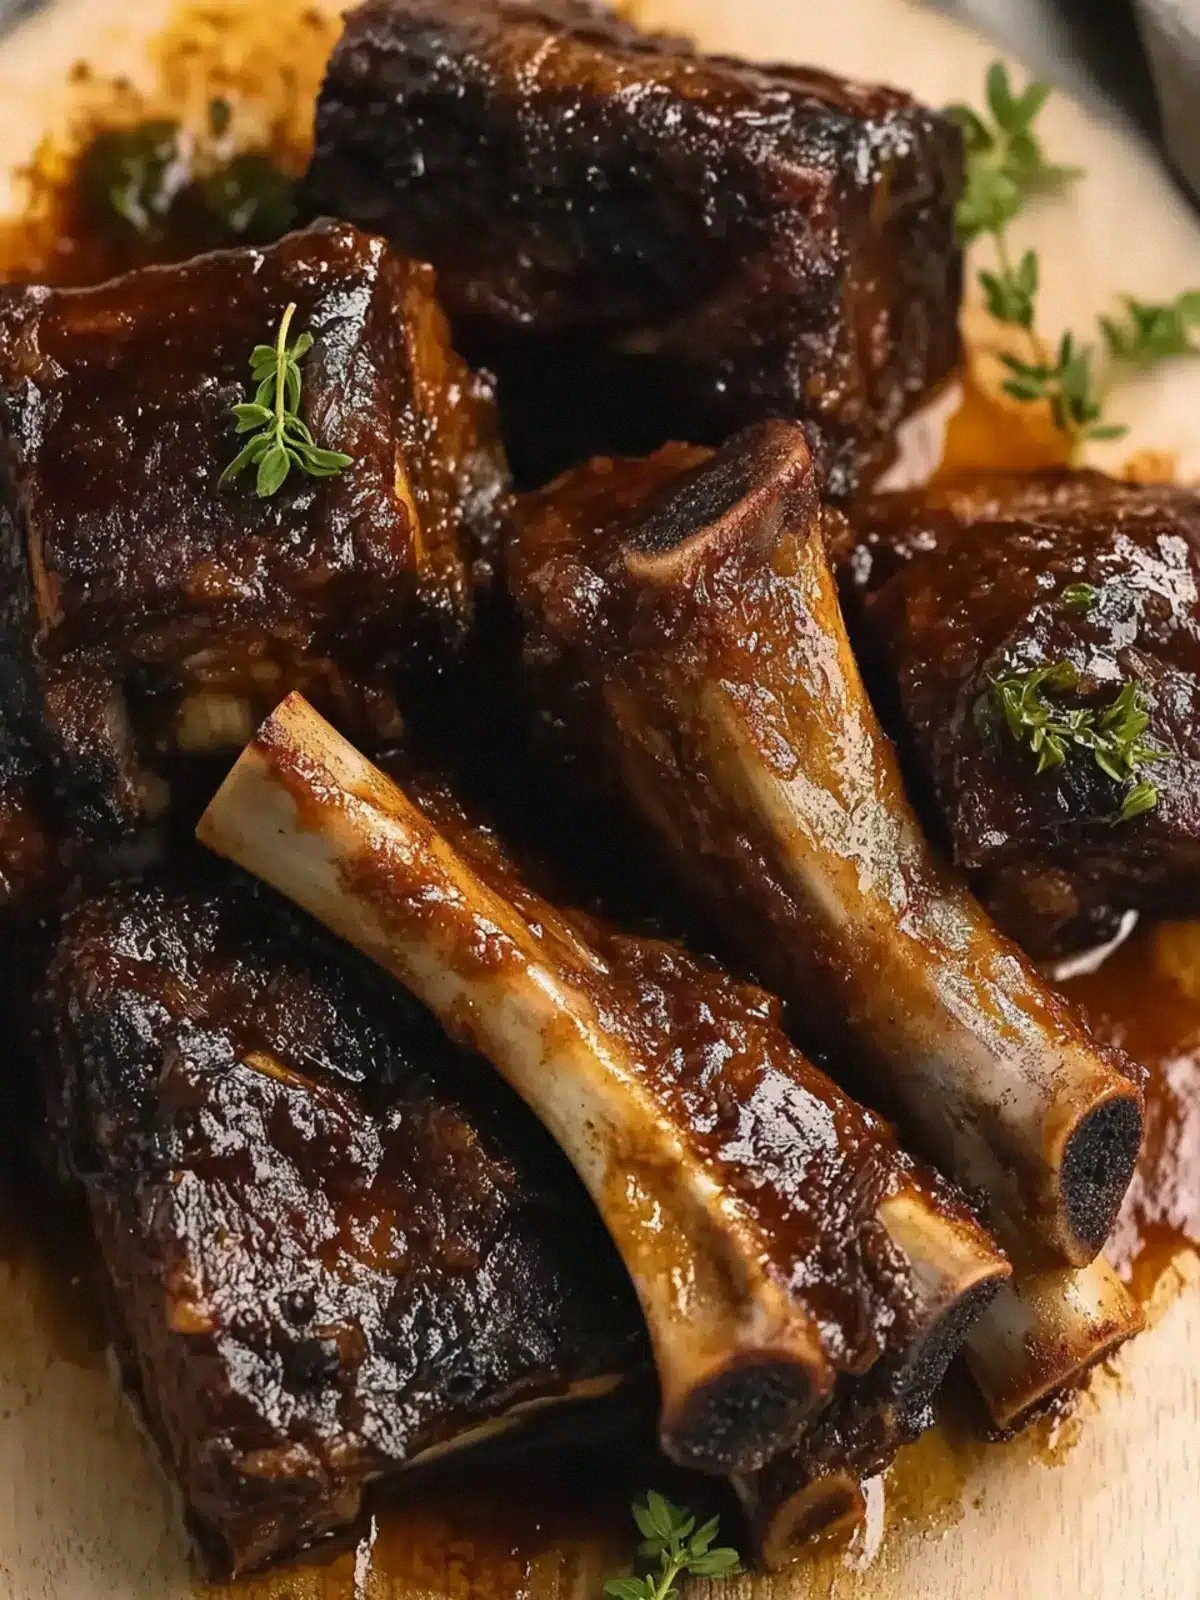
- Texture Perfection: The ribs fall off the bone in a single pull, yet the meat remains tender yet firm enough to hold its shape on the plate. This contrast is the hallmark of a truly great braised dish.
- Ingredient Integrity: Using bone‑in short ribs keeps the connective tissue intact, which melts into the sauce and adds a silky body that is hard to replicate with boneless cuts.
- Simplicity of Prep: The recipe requires minimal prep, no advanced techniques, and can be executed in a single pot. It’s the perfect balance between effort and reward.
- Make‑Ahead Friendly: The dish can be cooked a day in advance, allowing the flavors to mingle even more, and it reheats beautifully without losing moisture.
- Versatile Pairings: Serve it over mashed potatoes, polenta, or even a bed of sautéed greens—each option amplifies the sauce’s richness without competing.
- Crowd‑Pleaser: The comforting, hearty nature of this dish makes it a hit with both kids and adults, ensuring you never have to leave a guest hungry.
- Budget‑Friendly: Short ribs are often cheaper than prime cuts, and the recipe uses pantry staples that you likely already have.
Alright, let's break down exactly what goes into this masterpiece...
Inside the Ingredient List
The Flavor Base
The onion and garlic are the aromatic backbone of this braise. They release their sugars during the initial sear, creating a caramelized foundation that infuses the broth. Skipping them would leave the dish feeling flat and underwhelming. If you’re in a hurry, you can use a small packet of onion powder, but fresh will give you that unmistakable depth.
The Texture Crew
Bone‑in short ribs are the star of the show, providing both meat and marrow. The marrow melts into the sauce, giving it a silky body that coats the ribs like a luxurious blanket. If you’re short on time, you can use boneless ribs, but the flavor will be noticeably lighter. Choose cuts with a good fat cap for the richest results.
The Unexpected Star
Fresh thyme and rosemary are not just garnish; they’re essential for a herbal kick that balances the richness. Their aromatic oils release during the slow cook, infusing the broth with a subtle piney and citrusy undertone. If you can’t find fresh herbs, dried will work, but use only half the amount to avoid bitterness.
Everything's prepped? Good. Let's get into the real action...
The Method — Step by Step
- Seasoning the Ribs: Pat the short ribs dry with paper towels; this ensures a crisp sear. Sprinkle 1 teaspoon of salt and 1 teaspoon of freshly cracked black pepper evenly on all sides. The seasoning will create a flavorful crust that locks in juices. Let the ribs sit at room temperature for 15 minutes to absorb the spices.
- Searing the Meat: Heat a large Dutch oven or heavy‑bottom pot over medium‑high heat. Add a splash of oil with a high smoke point, like grapeseed or canola. When the oil shimmers, place the ribs in the pot, skin side down if applicable, and sear for 3–4 minutes per side. The goal is a deep brown crust, not just a light brown. Flip only once to avoid breaking the meat.
- Building the Aromatics: Remove the ribs temporarily and set aside. In the same pot, add the diced onion and minced garlic. Cook until the onion turns translucent and starts to caramelize, about 5–7 minutes. Stir frequently to prevent burning; the garlic should release its fragrance but not brown too quickly.
- Deglazing: Pour 1 cup of beef broth into the pot, scraping up all the browned bits from the bottom. Those bits are packed with flavor and will enrich the braise. Let the liquid reduce by half, which should take about 3 minutes, concentrating the taste.
- Reintroducing the Ribs: Return the seared ribs to the pot, nestling them into the liquid. Add the remaining 3 cups of broth, ensuring the ribs are mostly submerged. Sprinkle in the fresh thyme and rosemary, and bring the mixture to a gentle simmer.
- Slow Braising: Reduce the heat to low and cover the pot with a tight‑fitting lid. Let the ribs cook for 2 hours, turning them once halfway through. The long, low heat breaks down collagen, turning the meat tender and the broth thick. Check the liquid level; add a splash of water if it’s too low.
- Final Texture Check: After 2 hours, remove the ribs and let them rest on a platter. The meat should be almost falling off the bone. The sauce should have thickened to a glaze‑like consistency, coating the ribs with a glossy sheen. If it’s too thin, simmer uncovered for 10–15 minutes to reduce.
- Serving Suggestions: Plate the ribs over a bed of creamy mashed potatoes or silky polenta, spooning the sauce generously over the top. Garnish with a sprig of fresh rosemary for a pop of color. The dish should feel comforting yet luxurious, with each bite delivering a burst of savory, herbaceous flavor.
That’s it—you did it. But hold on, I’ve got a few more tricks that will take this to another level. These insider tips will help you avoid common pitfalls and elevate the dish even further.
Insider Tricks for Flawless Results
The Temperature Rule Nobody Follows
Maintaining a steady low heat is crucial. A temperature that’s too high will cause the broth to evaporate too quickly, leaving the ribs dry. I always use a thermometer and keep the heat around 200°F (93°C). This ensures the collagen dissolves slowly, producing a silky sauce and tender meat.
Why Your Nose Knows Best
Smell the broth as it simmers. A pleasant, deep aroma is a sign of a well‑developed flavor. If you notice a sour or metallic scent, it’s a cue to adjust the seasoning or add a splash of wine to balance the acidity.
The 5‑Minute Rest That Changes Everything
After removing the ribs, let them rest for exactly five minutes. This allows the juices to redistribute, ensuring each bite is juicy and flavorful. Skipping this step often leaves the meat dry and unappetizing.
Balancing the Broth
If you prefer a lighter sauce, reduce the amount of beef broth by one cup. Conversely, add an extra cup for a richer, more robust flavor. The key is to taste as you go and adjust accordingly.
Using a Cast‑Iron Skillet
A cast‑iron skillet retains heat better than a stainless steel pot. This ensures a more even sear, which is essential for developing the Maillard reaction that gives the dish its depth.
Finishing Touches
A splash of heavy cream or a knob of butter at the end of cooking will round out the sauce, giving it a glossy finish. This step is optional but highly recommended for a silky texture.
Creative Twists and Variations
This recipe is a playground. Here are some of my favorite ways to switch things up:
Citrus‑Infused Delight
Add a sliced orange or a splash of fresh lemon juice to the broth. The citrus cuts through the richness, adding a bright, refreshing note that pairs well with the herbs.
Smoky BBQ Flavor
Swap half the beef broth for a smoky chipotle broth and stir in a tablespoon of BBQ sauce. The result is a hearty, smoky version that works great over rice or roasted sweet potatoes.
Mushroom Umami Boost
Sauté sliced mushrooms with the onions before deglazing. The mushrooms release earthy flavors that deepen the sauce’s umami profile, making it even more complex.
Herb‑Rich Pesto Glaze
Blend fresh basil, parsley, and pine nuts into a pesto and swirl it into the sauce at the end. The herbaceous freshness balances the meat’s richness and adds a vibrant color.
Spicy Kick
Add a pinch of cayenne pepper or a diced jalapeño during the aromatics stage. The heat will contrast with the savory broth, creating a layered flavor experience.
Vegetarian Alternative
Use a hearty vegetable stock and substitute the ribs with thick slices of seared portobello mushrooms or seared tofu. The slow braising will infuse the vegetables with deep flavor, making it a satisfying main course.
Storing and Bringing It Back to Life
Fridge Storage
Cool the dish to room temperature, then transfer to an airtight container. Store in the refrigerator for up to 4 days. The sauce will thicken slightly, which is normal.
Freezer Friendly
Divide the dish into individual portions and place in freezer‑safe bags or containers. Freeze for up to 3 months. Thaw overnight in the fridge before reheating.
Best Reheating Method
Reheat gently over low heat, stirring occasionally. Add a splash of water or broth to keep the sauce moist. The dish will regain its original texture and flavor.