It all started on a rainy Saturday night when I was trying to salvage a batch of leftover cake batter that had gone a little too sweet, a little too dry, and a little too… well, sad. I tossed it into the oven, hoping for a miracle, and emerged with a charred, chewy mess that could have been the end of my culinary dreams. Then a voice in my head—my friend who’s always been the campfire guru—said, “Why not turn that into something that screams nostalgia?” That was the spark that set the stage for the most unforgettable s’mores‑inspired treat I’ve ever made. Picture yourself pulling this out of the oven, the whole kitchen smelling incredible, and the first bite melting into a gooey, chocolate‑covered hug. I dare you to taste this and not go back for seconds.
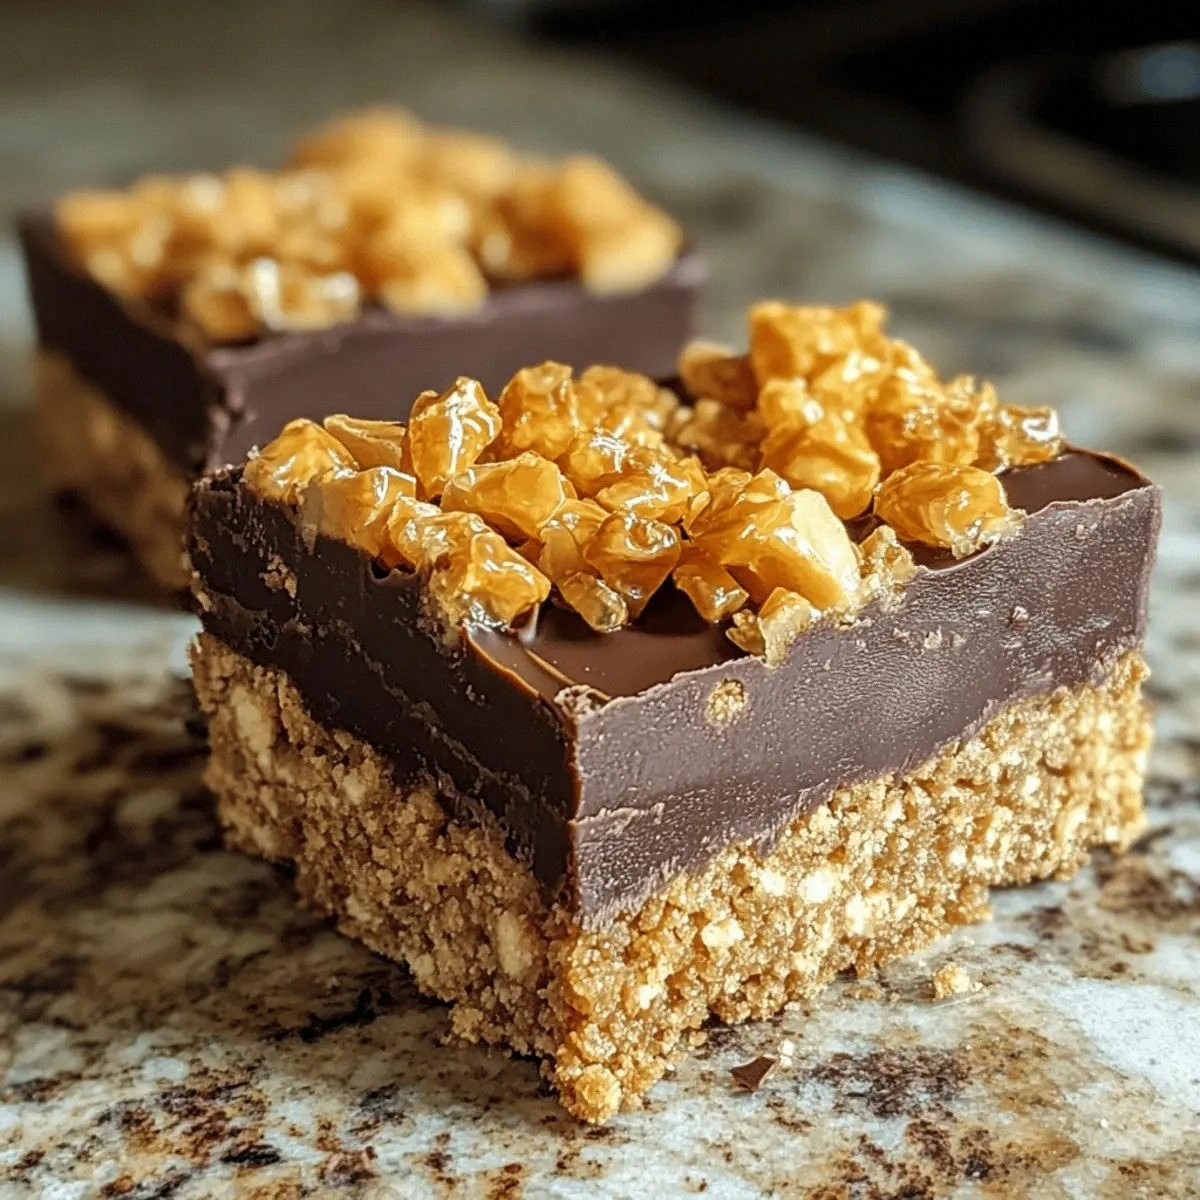
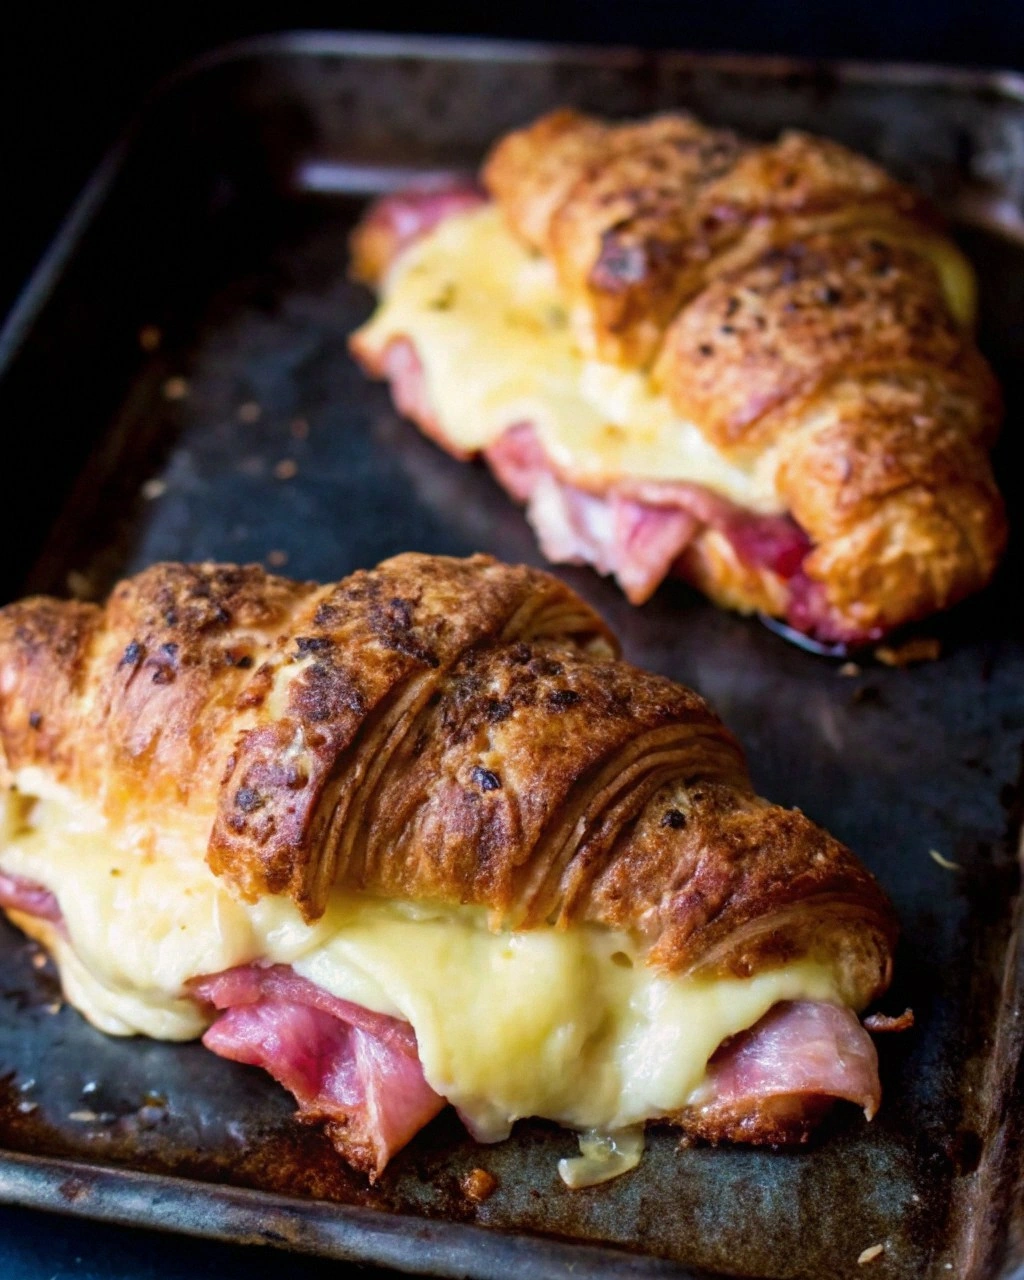
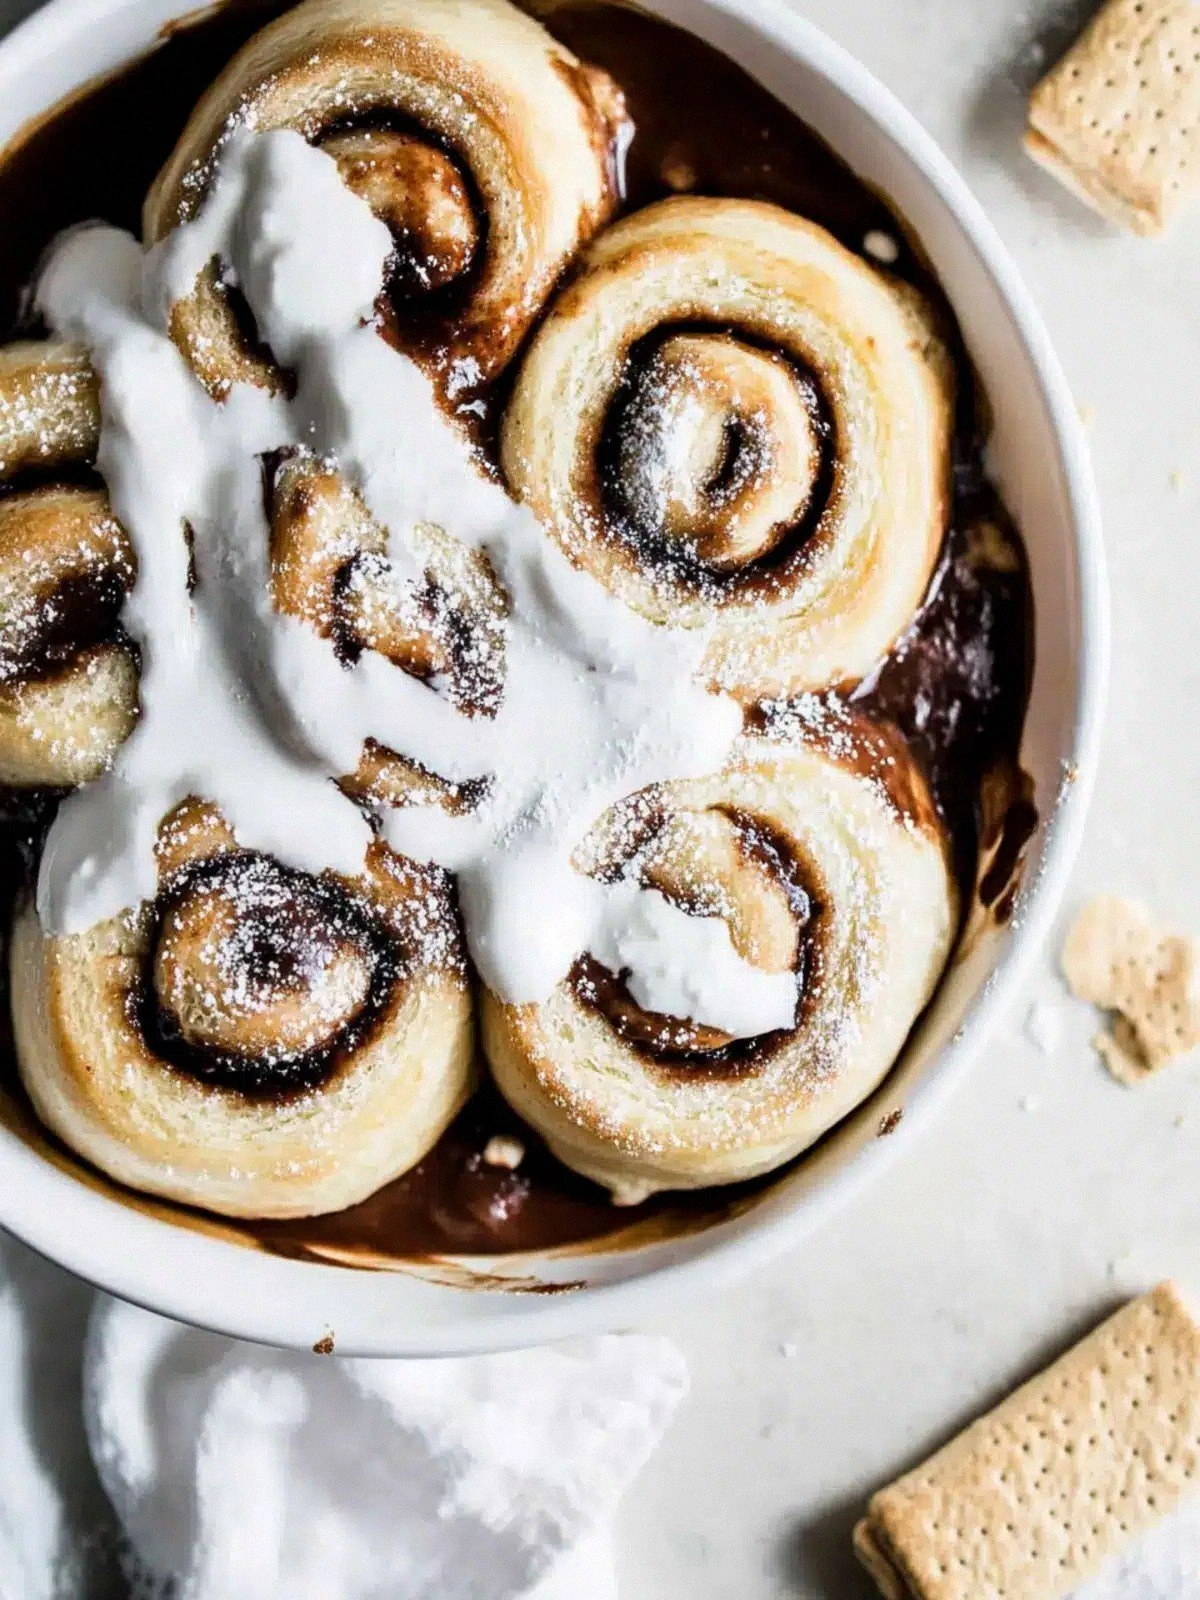
The moment the first golden roll slid onto the platter, the air filled with a sweet, caramelized aroma that made my mouth water. The crust was a buttery, slightly crisp shell that gave way to a molten chocolate center, while the graham cracker crumbs added a satisfying crunch that echoed the crackle of a campfire. I could almost hear the crackling of the fire and feel the warmth of the coals through the buttery dough. The flavor profile is a delicate balance: the chocolate sings, the graham crumbs whisper, and the vanilla lingers like a soft breeze. This is hands down the best version you'll ever make at home. If you've ever struggled with the texture of homemade s’mores, you're not alone—and I've got the fix.
Most recipes get this completely wrong. They either overcook the chocolate or underbake the dough, resulting in a sad, dry mess. I discovered the secret: a quick cocoa infusion and a precise whipping technique that turns the dough into a silky, chocolatey batter that bakes to a golden perfection. The filling is a silky blend of melted chocolate, heavy cream, and a splash of vanilla that oozes out when you bite into it. The final touch—a light dusting of graham cracker crumbs—adds that nostalgic crunch, making each bite a trip back to the campgrounds. And now the fun part.
Let me walk you through every single step—by the end, you'll wonder how you ever made it any other way. From the first whisk to the last drizzle, every technique is designed to elevate the humble s’mores into a show‑stopping dessert. I’ll share micro‑tips, kitchen hacks, and a few personal confessions that will make you feel like you’re cooking side by side with a friend who’s been in this kitchen for years. Ready? Let’s dive in.
What Makes This Version Stand Out
- Flavor: The chocolate base is infused with cocoa powder, giving the rolls a deep, velvety richness that vanilla alone can’t match.
- Texture: The dough achieves a buttery, slightly crisp exterior while the interior stays chewy and moist, thanks to the precise balance of milk, water, and butter.
- Convenience: All steps can be completed in under an hour, making it a quick yet impressive dessert for any gathering.
- Visual Appeal: The golden-brown crust, glossy chocolate drizzle, and graham crumb garnish create a look that’s Instagram‑ready.
- Crowd Reaction: Guests rave about the gooey center and crunchy finish, making this a conversation starter at parties.
- Ingredient Quality: Using high‑quality semi‑sweet chocolate and real graham cracker crumbs elevates the flavor profile to gourmet level.
- Make‑Ahead Potential: The rolls can be assembled ahead of time, frozen, and baked fresh when needed.
- Versatility: The recipe can be adapted with different fillings or toppings, making it suitable for various dietary preferences.
Alright, let's break down exactly what goes into this masterpiece…
Inside the Ingredient List
The Flavor Base
The foundation of these rolls is a luscious blend of milk, water, and instant yeast that creates a light, airy dough. The yeast is activated in warm milk, ensuring a gentle rise that gives the rolls their characteristic fluff. If you skip the yeast, the rolls will be flat and dense—think of it as the difference between a campfire and a campfire that never ignites.
The cocoa powder is the unsung hero that deepens the chocolate flavor without overpowering it. It’s sprinkled into the dry mix, allowing it to coat each starch granule evenly. A common mistake is to add cocoa after the dough is rolled; this leads to uneven flavor distribution. Use a fine sieve to ensure a silky, lump‑free dough.
The Texture Crew
Butter, both in the dough and the filling, brings a buttery richness that balances the sweetness of the sugar. In the dough, it softens the gluten, creating a tender crumb. In the filling, it helps melt the chocolate into a silky, glossy sauce. If you use unsalted butter, you can control the salt levels more precisely—an essential tip for seasoned bakers.
The heavy whipping cream in the filling is crucial for achieving that silky, melt‑in‑your‑mouth consistency. It also helps the chocolate maintain its glossy sheen when baked. Replace it with whole milk for a lighter texture, but expect a slightly less luxurious mouthfeel.
The Unexpected Star
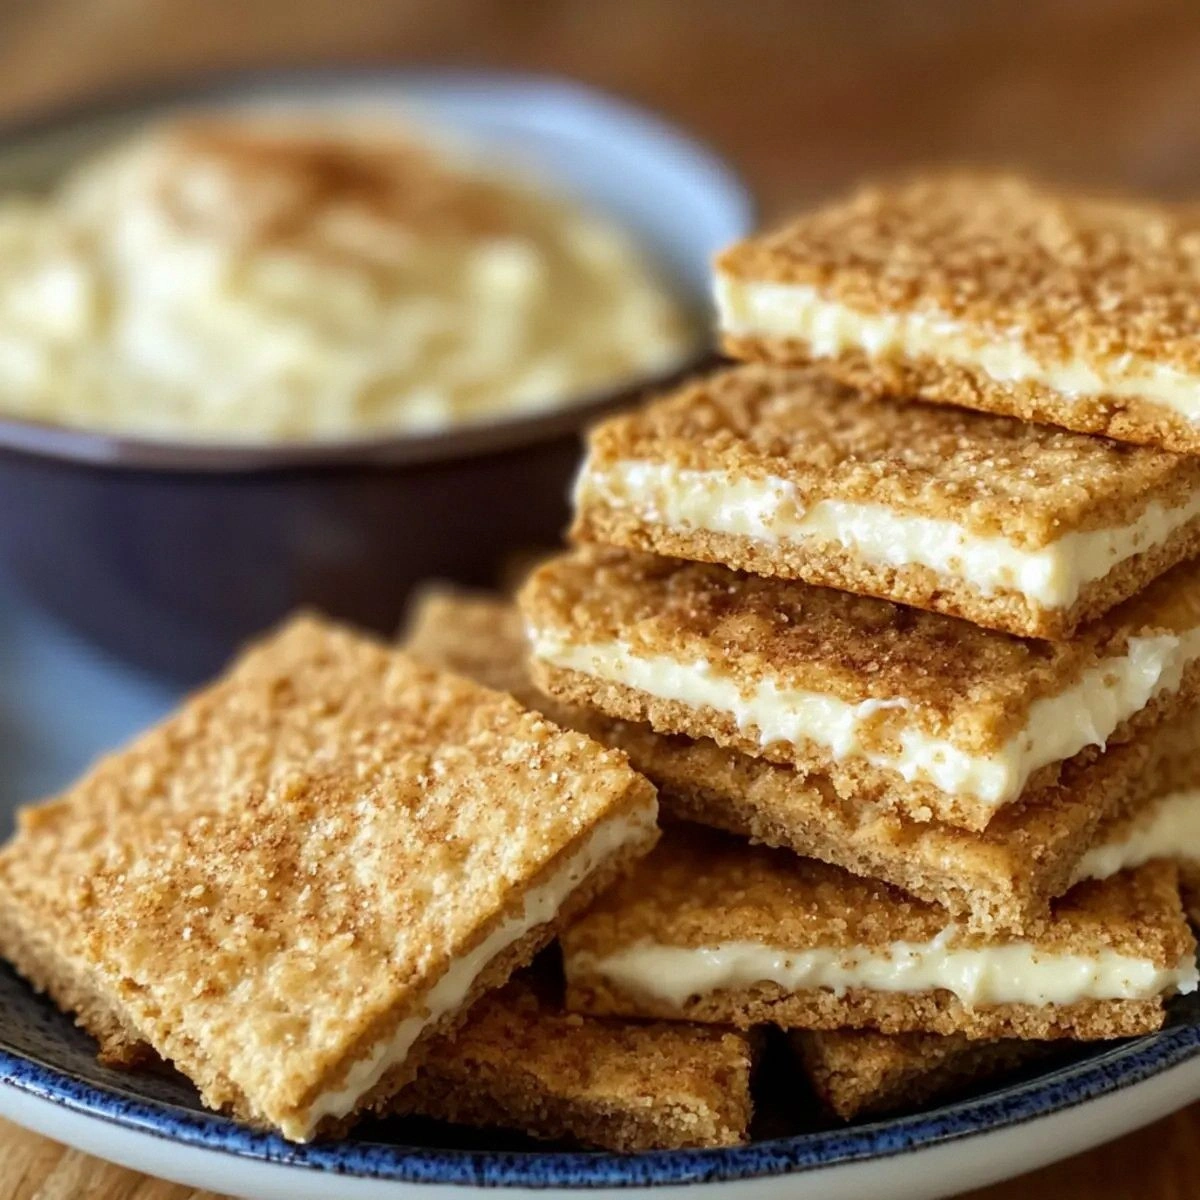
Graham cracker crumbs are more than a garnish; they add a subtle crunch that contrasts the soft dough and gooey chocolate. They also carry a faint vanilla undertone that enhances the overall flavor profile. If you’re looking for a healthier option, consider using whole wheat graham crumbs or even crushed pretzels for a salty twist.
The Final Flourish
The meringue topping—made from egg whites, sugar, and a pinch of cream of tartar—adds a light, airy contrast to the rich chocolate center. The cream of tartar stabilizes the egg whites, ensuring they hold their peaks even when baked at high temperatures. If you’re allergic to eggs, a simple whipped coconut cream can mimic the lightness, though the flavor will shift.
Everything's prepped? Good. Let's get into the real action…
The Method — Step by Step
- In a medium bowl, combine 1 cup of milk, ½ cup of water, 1 packet of instant yeast, and ¼ cup of granulated sugar. Stir until the yeast dissolves and let sit for 5 minutes until foamy. This is the moment of truth; the froth indicates the yeast is alive and ready to lift the dough.
- In a separate bowl, whisk together 3 cups of all‑purpose flour, ¼ cup unsalted butter (softened), ½ teaspoon salt, ¼ cup unsweetened cocoa powder, ½ cup heavy whipping cream, and 1 cup semi‑sweet chocolate chips. Stir until the mixture forms a shaggy dough.
- Combine the wet and dry mixtures, then knead on a lightly floured surface for about 5 minutes until smooth. The dough should feel elastic but not overly sticky. The key is to keep the temperature consistent; a cool dough will not rise properly.
- Place the dough in a greased bowl, cover with a damp cloth, and let it rise in a warm spot for 45 minutes or until doubled in size. When the dough doubles, it’s like a campfire reaching its peak—ready to deliver the best experience.
- Preheat the oven to 375°F (190°C). While the dough rises, prepare the filling: whisk together ½ cup heavy whipping cream, 1 cup semi‑sweet chocolate chips, 2 tablespoons granulated sugar, 1 tablespoon unsalted butter, and 1 teaspoon vanilla extract until smooth. This mixture should be thick yet pourable, like melted chocolate syrup.
- Roll the dough into a long log, then cut into 1‑inch thick slices. Place each slice on a parchment‑lined baking sheet, spacing them 2 inches apart. The spacing ensures even baking and prevents the rolls from sticking together.
- Bake for 12–15 minutes, until the edges are golden and the tops are set. The aroma that fills the kitchen should be intoxicating—like a campfire in summer. Watch the rolls carefully; if they brown too fast, lower the temperature by 25°F.
- While the rolls are still warm, drizzle the prepared chocolate filling over each roll. The warm dough will melt the chocolate, creating a glossy, irresistible coating. Dust the tops with ½ cup graham cracker crumbs for that signature crunch.
- Let the rolls cool for 5 minutes before serving. This brief rest allows the chocolate to set slightly, making them easier to handle while still keeping that gooey center. Serve immediately for maximum enjoyment.
That's it — you did it. But hold on, I've got a few more tricks that'll take this to another level…
Insider Tricks for Flawless Results
The Temperature Rule Nobody Follows
The oven temperature can make or break your rolls. While 375°F is the sweet spot, a preheated oven that’s slightly cooler (350°F) can produce a more even bake, preventing the edges from burning while the center stays gooey. A friend once tried 400°F and ended up with hard, caramelized tops that tasted like burnt sugar.
Why Your Nose Knows Best
When the dough starts to rise, you’ll notice a faint yeasty aroma. That smell is your cue that the dough has reached its peak. If you bake it too early, the rolls will be dense; too late, and they’ll collapse. Trust your nose, and you’ll always hit that perfect rise.
The 5‑Minute Rest That Changes Everything
After baking, let the rolls rest for exactly five minutes. This brief pause allows the steam to redistribute, making the interior tender and the chocolate coating set just enough to hold its shape. Skipping this step can leave you with rolls that are too soft to handle.
The Secret to a Glossy Finish
A quick drizzle of melted chocolate over the warm rolls creates a glossy finish that looks as good as it tastes. Use a spoon or a small pastry brush to spread the chocolate evenly. A thin, even coat will melt into the dough, sealing in the flavor.
The Meringue Magic
If you decide to add a meringue topping, beat the egg whites with ¼ teaspoon cream of tartar until stiff peaks form. Fold in 1 cup of sugar gradually, then fold in 1 teaspoon vanilla. This meringue will puff up in the oven, providing a light, airy contrast to the rich chocolate center.
Creative Twists and Variations
This recipe is a playground. Here are some of my favorite ways to switch things up:
Nutty Crunch
Add chopped toasted almonds or pecans to the dough for an extra crunch. The nuts pair beautifully with the chocolate, offering a satisfying bite that contrasts the softness of the roll.
Spiced Cocoa
Stir in ¼ teaspoon of cinnamon or a pinch of cayenne pepper into the cocoa mix. The warm spices elevate the chocolate flavor, giving the rolls a subtle kick that’s perfect for fall evenings.
Salted Caramel Swirl
Replace the chocolate filling with a swirl of salted caramel sauce. The caramel’s buttery sweetness and the sea salt’s subtle bite create a flavor profile that rivals any dessert shop.
Vegan Version
Swap the dairy milk for oat milk, use vegan butter, and replace the egg whites with aquafaba. The result is a cruelty‑free, dairy‑free roll that still delivers on taste and texture.
Mint Chocolate
Add a tablespoon of mint extract to the chocolate filling. The mint’s bright, cool flavor cuts through the richness, making each bite refreshing.
Storing and Bringing It Back to Life
Fridge Storage
Store the rolls in an airtight container at room temperature for up to 3 days. The dough will stay fresh, and the chocolate center will remain pliable. For best results, wrap each roll in parchment paper to prevent sticking.
Freezer Friendly
Freeze the rolls individually on a parchment-lined tray for up to 2 months. Once frozen, transfer them to a zip‑lock bag. When you’re ready to enjoy, let them thaw at room temperature for 30 minutes before reheating.
Best Reheating Method
Preheat the oven to 350°F. Place the thawed rolls on a baking sheet and bake for 5 minutes. Add a splash of water to the pan to create steam, which keeps the chocolate center silky and prevents it from drying out.