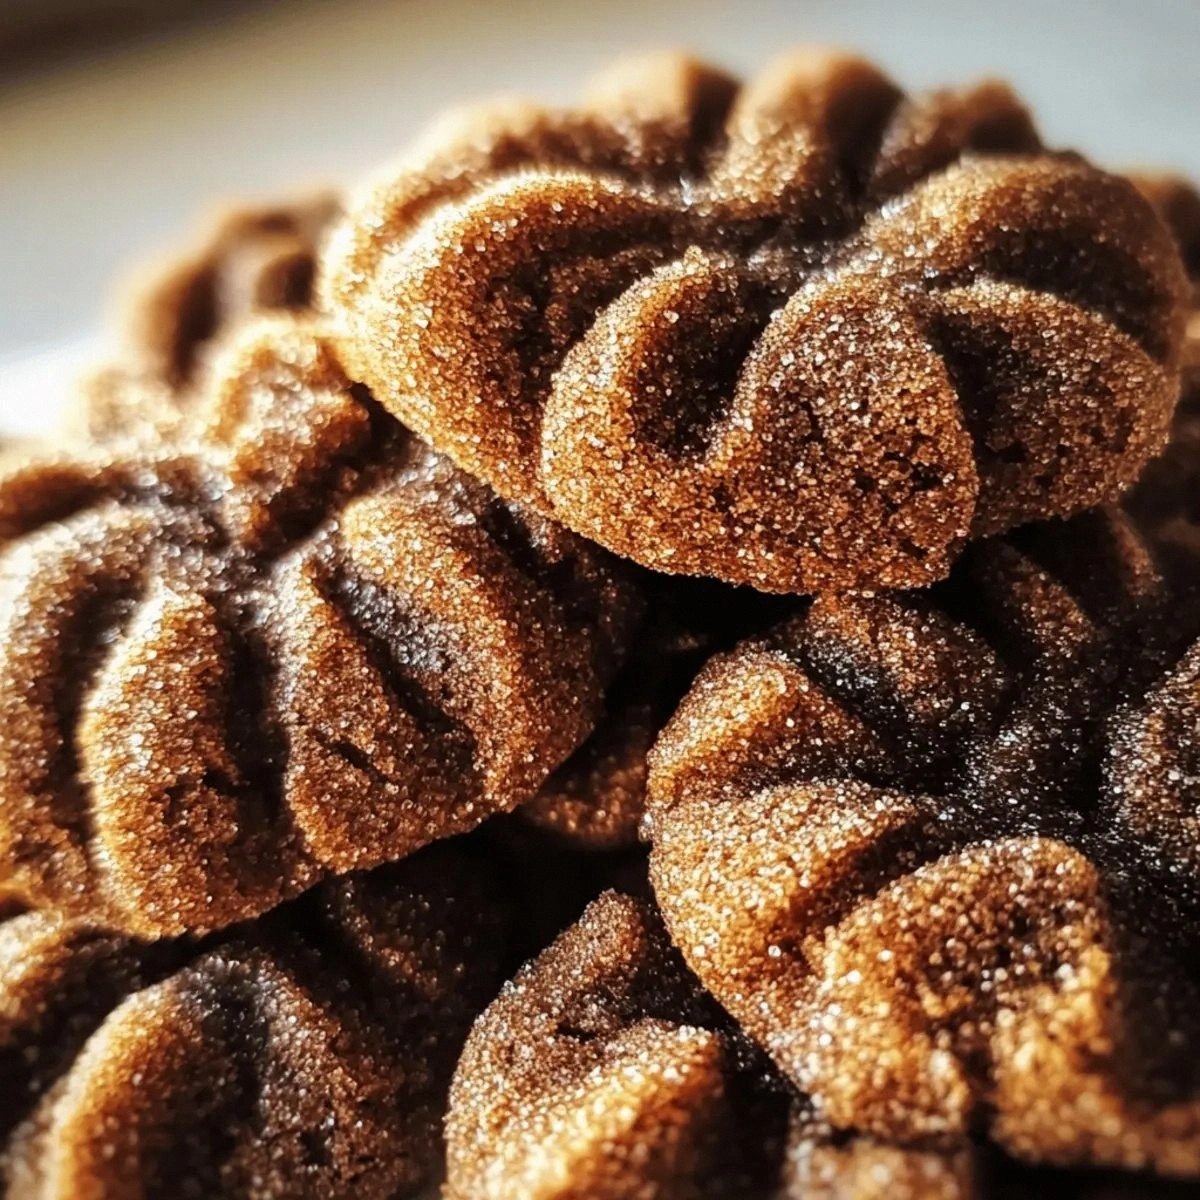
When the kitchen exploded with a batch of burnt cookies that looked more like charcoal than dessert, I was already craving chocolate. I swore to myself that if I could create a brownie that was both fudgy and silky, I would never settle for the bland, pre‑baked pies that dominate grocery aisles. The moment the chocolate aroma hit my nose, I realized I was onto something special—an indulgent, gooey center that melts in your mouth while the edges stay crisp like a well‑toasted cookie. This isn’t just another chocolate treat; it’s a revolution in texture, flavor, and sheer decadence. I dare you to taste this and not go back for seconds.
Picture yourself pulling this from the oven, the whole kitchen smelling incredible, the steam rising like a sweet cloud. The batter is thick, glossy, and the chocolate shimmers like a midnight pond. When you cut a slice, the interior is a velvety river of chocolate that runs down the sides, while the top is a caramelized crust that cracks delightfully when you bite. If you’ve ever struggled with a brownie that turns out dry or too cakey, you’re not alone—and I’ve got the fix. This is hands down the best version you’ll ever make at home, and it’s going to become your go‑to for parties, date nights, or a cozy Sunday treat.
What sets this recipe apart is the careful balance between sweetness and richness, the secret infusion of espresso that deepens the chocolate flavor, and the final touch of sea salt that cuts through the richness like a well‑timed punch. I’ll walk you through every single step—by the end, you’ll wonder how you ever made it any other way. The technique I’ll share involves a quick flash of high heat to caramelize the sugar, a subtle use of heavy cream to keep the batter silky, and a final resting period that locks in flavor. I’ll also throw in a few kitchen hacks that will save time and elevate the result.
Let me walk you through every single step — by the end, you'll wonder how you ever made it any other way. The journey starts with a simple prep of the pan and the crust, then moves into the batter, and finally into the baking and cooling phases. Every moment is packed with sensory cues: the hiss of butter melting, the deep scent of cocoa, the slight crackle as the edges set. Keep your eyes and nose on the action, and trust me, the payoff will be worth every second of effort.
What Makes This Version Stand Out
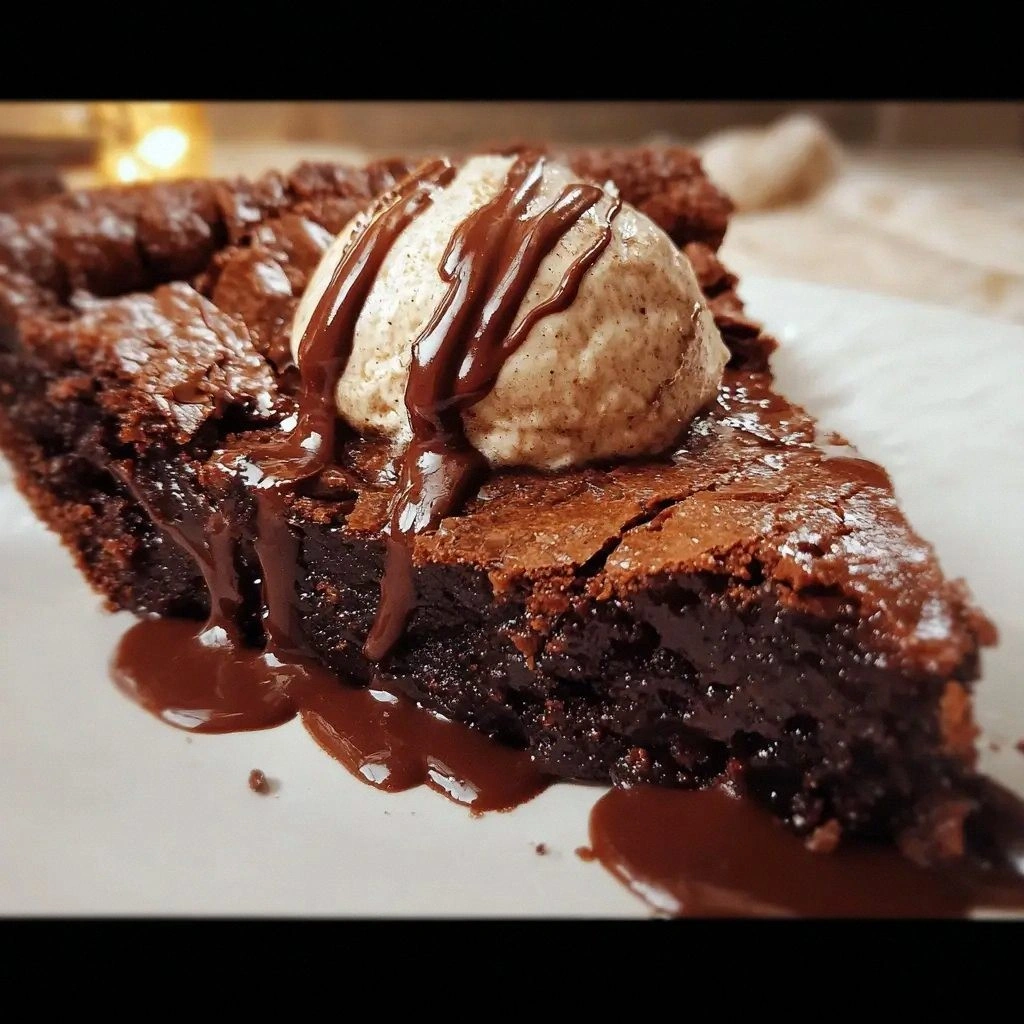
- Flavor: A bold chocolate base with a hint of espresso that deepens the cocoa profile, making each bite feel like a rich, velvety chocolate bar. The espresso not only intensifies flavor but also balances sweetness.
- Texture: A perfect contrast of a caramelized top crust and a molten, gooey center that stays luscious for days. The batter’s slight thickness keeps the interior silky.
- Simplicity: With only 14 ingredients and a straightforward method, you can whip this up in under an hour. No fancy equipment or time‑consuming steps.
- Uniqueness: The addition of heavy cream and a pinch of sea salt gives this brownie pie a gourmet twist that sets it apart from the usual cookie‑style pies.
- Crowd Reaction: Friends always ask for the recipe after the first slice. The dramatic presentation and the melt‑in‑your‑mouth texture make it a showstopper.
- Ingredient Quality: Using high‑grade cocoa powder and dark chocolate chips elevates the taste; the difference is like moving from a regular chocolate bar to a premium truffle.
- Make‑Ahead Potential: Bake it ahead, chill, and it stays fresh for up to a week—perfect for busy weeks or last‑minute dessert plans.
Alright, let's break down exactly what goes into this masterpiece...
Inside the Ingredient List
The Flavor Base
At the heart of this pie lies the chocolate. Use a high‑quality unsweetened cocoa powder; it’s the backbone that delivers that deep, bittersweet bite. A tablespoon of espresso powder, combined with a small shot of espresso, amplifies the cocoa notes and gives the batter an almost coffee‑chocolate aroma. If you skip the espresso, the brownies will still be delicious, but they’ll lack that complex depth that makes people reach for seconds.
When selecting cocoa, look for a dark roast with a high cacao content. It’s not just about flavor—cocoa also provides antioxidants that give this dessert a healthy‑seeming edge. If you prefer a sweeter version, consider adding a teaspoon of vanilla extract to round out the flavors. The vanilla’s warm undertones balance the bitterness, creating a harmonious profile that pleases both sweet and savory palates.
The Texture Crew
Flour and baking powder are the silent partners that give the brownie its structure. All‑purpose flour is the most versatile; it ensures the batter holds together without becoming cakey. Baking powder, on the other hand, provides the lift that allows the top to rise slightly, creating that coveted golden crust.
Heavy cream is a game‑changer in this recipe. It adds richness and a silky mouthfeel, preventing the brownie from becoming too dense. The cream also helps the chocolate emulsify, giving the batter a smooth, glossy consistency. If you’re looking for a dairy‑free alternative, coconut milk can be used, but the texture will shift slightly, becoming more custard‑like.
The Unexpected Star
Dark chocolate chips are the star of the show. They melt into the batter, creating pockets of molten chocolate that burst with every bite. The chips’ high cacao content adds a subtle bitterness that balances the sweetness of the sugar. If you’re a white chocolate lover, feel free to substitute with white chocolate chips for a sweeter, creamier finish.
Adding a pinch of sea salt on top before baking is a small but mighty move. It cuts through the richness, bringing out the chocolate’s natural sweetness and preventing the dessert from feeling too heavy. The salt also creates a slight crunch as it melts into the crust, adding an extra layer of texture.
The Final Flourish
Salt and sugar are the final touch that rounds everything out. Salt is essential for enhancing flavor, while sugar caramelizes on the surface, giving that irresistible golden crust. The ratio of sugar to butter is crucial; too much sugar can make the brownie overly sweet, while too little can leave it dry.
When you whisk the batter, aim for a uniform mixture. This ensures the chocolate melts evenly and the batter remains silky. Avoid overmixing, as that can introduce gluten and lead to a tougher texture. Keep the batter thick but pourable, like a thick smoothie.
Everything's prepped? Good. Let's get into the real action...
The Method — Step by Step
- Preheat your oven to 350°F (175°C). Line a 9‑inch pie dish with parchment paper, leaving an overhang on the sides for easy removal. Grease the parchment with a thin layer of butter or non‑stick spray to prevent sticking. This step ensures the pie lifts cleanly and the edges crisp up nicely.
- In a medium bowl, whisk together 2 cups all‑purpose flour, 1 cup granulated sugar, 3/4 cup unsweetened cocoa powder, 1 teaspoon baking powder, and 1 teaspoon salt. The dry mix should be fluffy and free of lumps. This dry base is crucial for the structure of the brownie.
- In a separate bowl, melt 1 cup butter and 1 cup dark chocolate chips together, either on the stove or in the microwave. Stir until smooth and glossy, then let it cool slightly. The melted chocolate adds depth, while the butter keeps the batter moist.
- Add 4 large eggs, 2 teaspoons vanilla extract, and 1 teaspoon espresso powder to the melted chocolate mixture. Whisk until the mixture is smooth and the eggs are fully incorporated. The espresso not only deepens the flavor but also adds a subtle bitterness that balances the sweetness.
- Pour the wet mixture into the dry ingredients, folding gently until just combined. Avoid overmixing; the batter should be thick but pourable. A watch‑out: if you stir too vigorously, the batter can become gummy and the brownies too dense.
- Fold in 1/2 cup heavy cream and 1/2 cup chopped walnuts (optional). The cream adds silkiness, while the walnuts provide a crunchy contrast. If you’re avoiding nuts, you can leave them out or replace them with a handful of chocolate chips.
- Pour the batter into the prepared pie dish, smoothing the top with a spatula. Sprinkle a pinch of sea salt over the surface. The salt will caramelize slightly, giving a crisp, golden crust.
- Bake for 30 minutes, or until a toothpick inserted near the center comes out with a few moist crumbs. The batter should look set and slightly blistered on the top. The edges will pull away from the dish, signaling that it’s ready.
- Let the pie cool in the pan for 10 minutes, then lift it using the parchment overhang. Transfer to a wire rack to cool completely. This resting period allows the flavors to settle and the brownie to firm up for easy slicing.
That's it — you did it. But hold on, I've got a few more tricks that'll take this to another level...
Insider Tricks for Flawless Results
The Temperature Rule Nobody Follows
Many bakers bake at a high temperature to get a quick rise, but that can scorch the edges. Instead, bake at a steady 350°F and let the batter slowly caramelize. I’ve seen brownies that are too soft because the oven was too hot. The slow bake gives a richer, deeper flavor.
Why Your Nose Knows Best
When the batter starts to emit a deep, chocolatey aroma, that’s your cue that the sugar is caramelizing. The scent is a sign that the top is forming a golden crust. If you’re unsure, open the oven and take a quick sniff; a faint sweet scent is a good indicator.
The 5‑Minute Rest That Changes Everything
After baking, let the brownie rest for exactly five minutes before slicing. This short pause allows the interior to set, preventing it from sliding off the knife. I’ve had a friend try cutting immediately, and the brownie collapsed like a deflated balloon.
The Secret of Even Slices
Place a cutting board under the pie and use a sharp, long‑blade knife. A dull knife will crush the brownie, creating uneven slices. A sharp blade ensures clean cuts and a professional look.
Storing for Longevity
Wrap the cooled brownie pie tightly in plastic wrap and store in an airtight container. It stays fresh for up to five days at room temperature. If you need to keep it longer, freeze it for up to a month.
Creative Twists and Variations
This recipe is a playground. Here are some of my favorite ways to switch things up:
Nutty Crunch
Swap the walnuts for pecans or hazelnuts for a buttery crunch. The nuts add a sweet, nutty undertone that complements the chocolate. Perfect for those who love a bit of texture.
Minty Surprise
Add a teaspoon of peppermint extract to the batter. The mint gives a refreshing aftertaste that contrasts the deep chocolate. This version works well for holiday gatherings.
Spiced Delight
Stir in a pinch of cinnamon and a dash of cayenne pepper. The subtle heat and warmth add depth, making the brownie feel like a warm, spicy hug. Great for autumn or winter feasts.
Caramel Swirl
Fold in a swirl of caramel sauce before baking. The caramel caramelizes on the surface, creating a sweet, gooey layer. This is a crowd‑pleaser at dessert parties.
Vegan Version
Replace butter with coconut oil, eggs with flaxseed meal, and use plant‑based chocolate chips. The result is a rich, fudgy brownie that’s dairy‑free and egg‑free. It’s a great alternative for guests with dietary restrictions.
Storing and Bringing It Back to Life
Fridge Storage
Store the cooled pie in an airtight container at room temperature for up to five days. The airtight seal prevents it from drying out and keeps the flavors fresh. If you notice any moisture, simply pat it dry with a paper towel.
Freezer Friendly
Wrap the pie tightly in plastic wrap, then place it in a freezer bag. It can be frozen for up to a month. When ready to serve, thaw it overnight in the fridge.
Best Reheating Method
Reheat in a 325°F oven for 10 minutes, or until warmed through. Add a splash of water before reheating to steam the brownie back to perfection. The water creates steam that keeps the brownie moist and prevents it from drying out.