I was in the middle of a frantic Thursday night when my roommate dared me to create something that would make the entire apartment forget about the looming deadline for the next day. “Make something that doesn’t need a oven, but still feels like a celebration,” she said, eyes glinting like the caramelized edges of a perfectly toasted biscuit. I stared at the pantry, the only thing that seemed to scream back was a lonely pack of digestive biscuits, a block of milk chocolate, and a stash of Crunchie bars that had been hiding behind the cereal. The kitchen was a battlefield of clattering pans and half‑finished soups, but the idea of a no‑bake slice that could melt the toughest critic’s heart was too tempting to ignore.
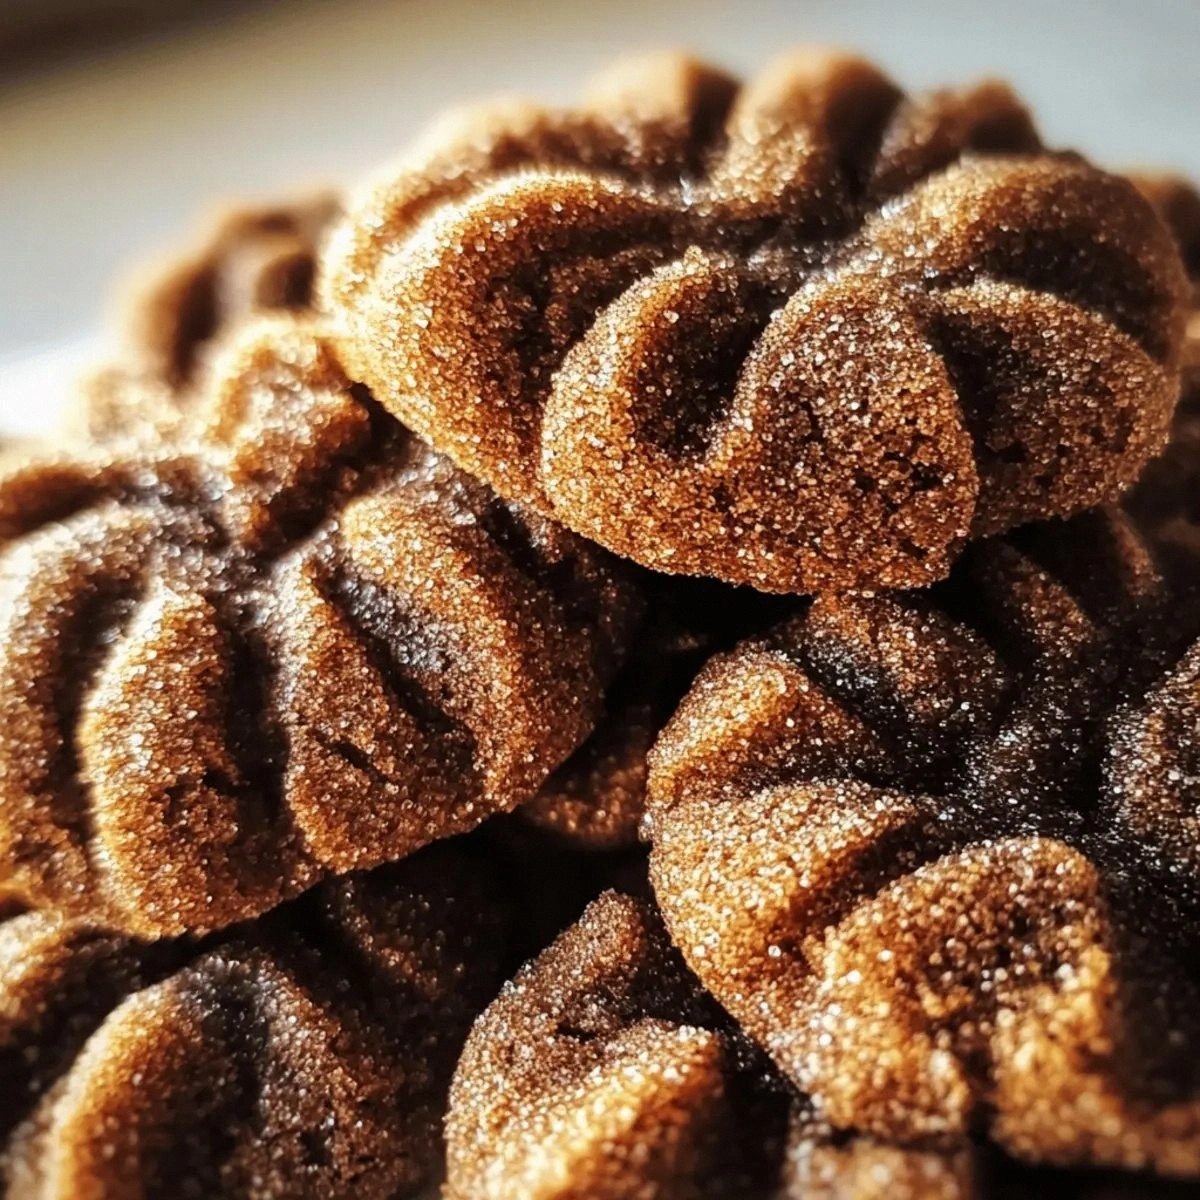
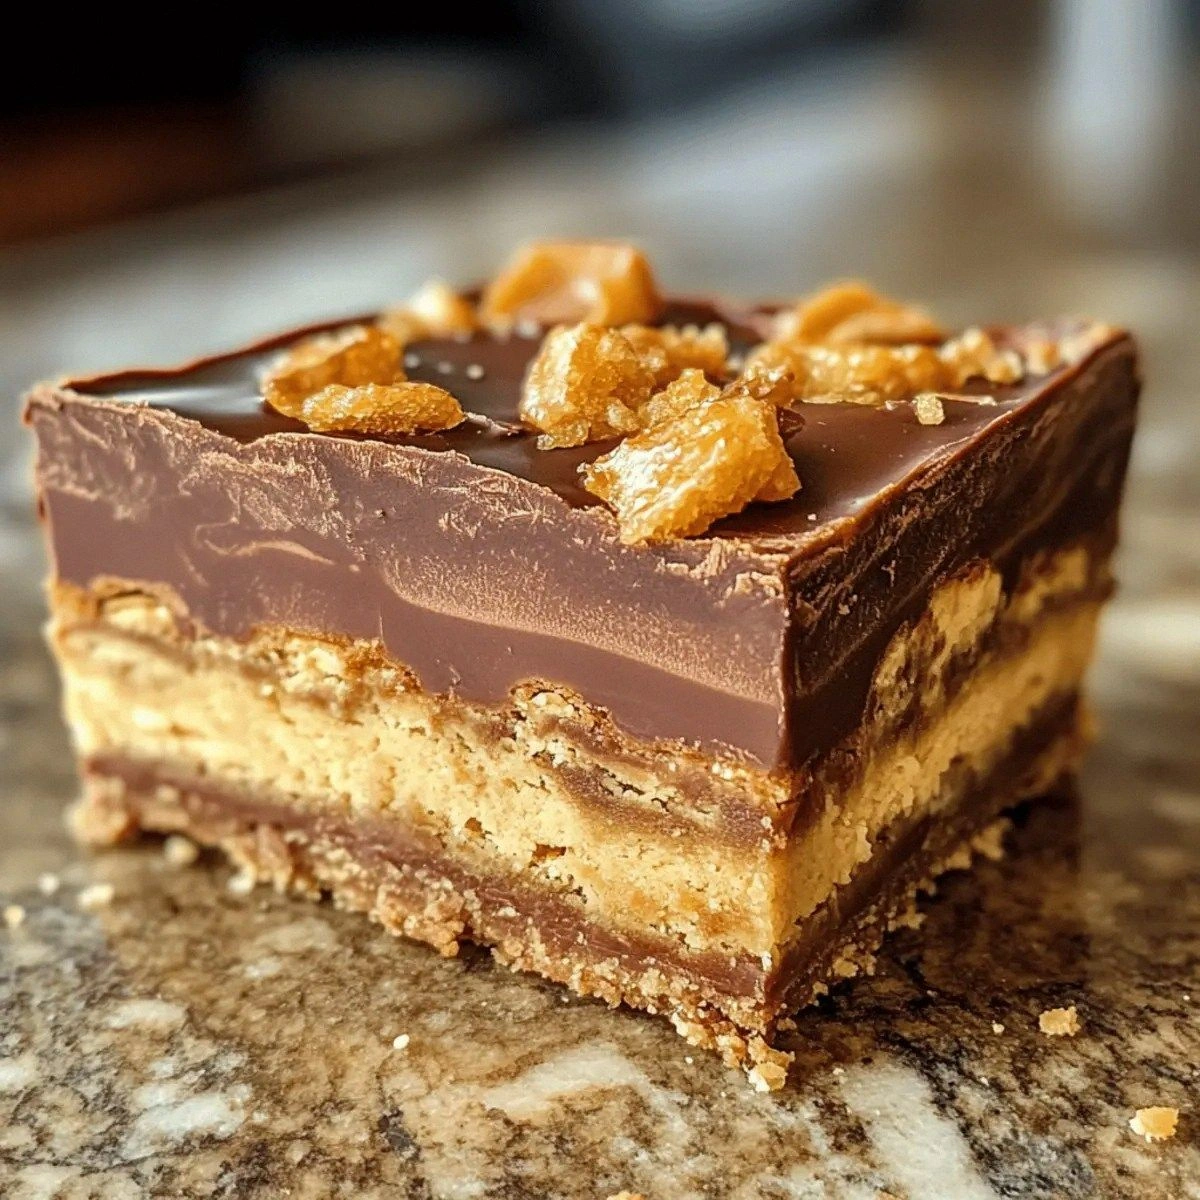
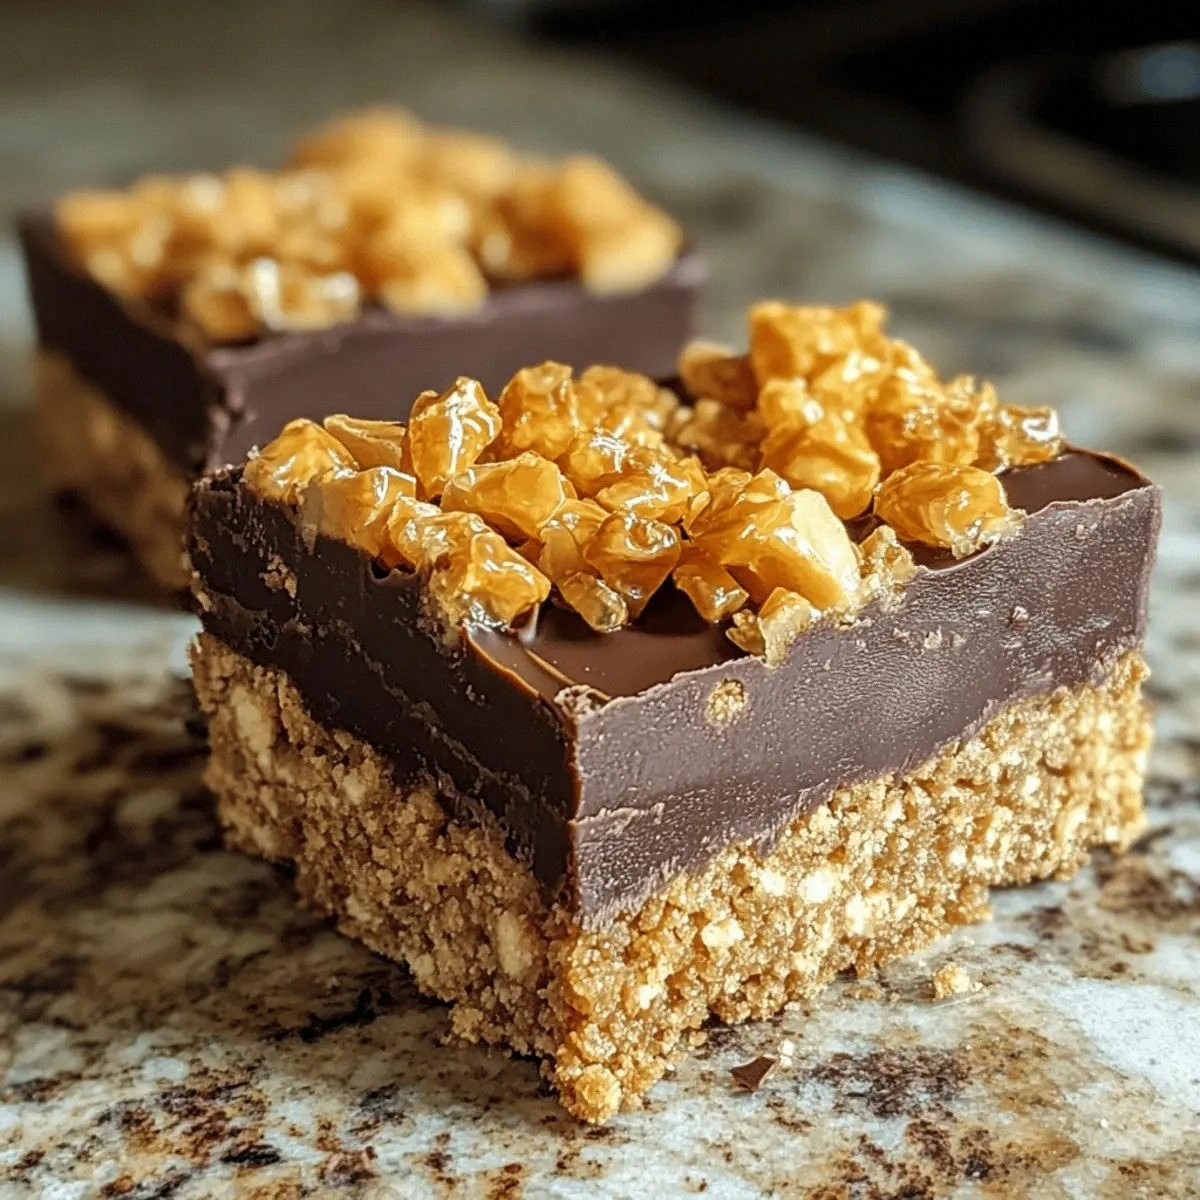
Picture this: the buttery crumble of a biscuit base that crumbles like fresh snow under a boot, a glossy, caramel‑sweet sauce that spreads like silk, and then those iconic honeycomb Crunchie shards that crackle with each bite as if you’re biting into tiny fireworks. The aroma of melted chocolate mingles with the buttery scent of melted butter, creating a perfume that makes the whole house feel like a boutique confectionery. When the slice finally sets, you hear that subtle “pop” as the chocolate hardens, and the whole thing looks like a glossy, golden slab begging to be sliced. I dared you to taste this and not go back for seconds, because honestly, I’ll be honest — I ate half the batch before anyone else got to try it.
Most recipes for no‑bake chocolate slices either drown you in sugar or leave you with a soggy mess that looks like a toddler’s art project. This version? Hands down the best version you’ll ever make at home. I’ve stripped it down to five ingredients, but each one is chosen with the precision of a jeweler setting a diamond. No fancy mixers, no obscure pantry items, just pure, honest flavor that sings. I’m about to reveal a little secret: the extra ten grams of butter at the end is the game‑changer that gives the chocolate topping a glossy finish that even a professional patissier would envy.
Okay, ready for the game‑changer? Let me walk you through every single step — by the end, you’ll wonder how you ever made it any other way. Stay with me here — this is worth it. The only thing you’ll need is a bit of patience, a sturdy mixing bowl, and a willingness to indulge in a treat that will have you bragging to anyone who will listen. Let’s dive in, shall we?
What Makes This Version Stand Out
- Flavor Explosion: The combination of sweetened condensed milk and milk chocolate creates a caramel‑rich sauce that coats the base like velvet, delivering a depth of flavor that rivals store‑bought bars.
- Crunch Factor: Those Crunchie bars break apart into airy honeycomb shards that shatter like thin ice, giving every bite a satisfying snap.
- Simplicity: Only five ingredients, five steps, and no oven — perfect for lazy evenings or when the power’s out.
- Make‑Ahead Magic: This slice sets in the fridge, meaning you can prepare it days in advance and still enjoy that fresh‑out‑of‑the‑fridge crunch.
- Crowd‑Pleaser: I dare you to serve this at a gathering and watch the room light up; it’s the kind of dessert that sparks conversation.
- Ingredient Quality: Using real butter and good‑quality milk chocolate makes the difference between a waxy mess and a glossy, buttery finish.
- Texture Harmony: The buttery biscuit base, silky chocolate layer, and airy honeycomb create a triptych of textures that dance on the palate.
- Versatility: It’s a blank canvas for toppings, drizzles, or even a dash of sea salt for that sweet‑salty punch.
Inside the Ingredient List
The Flavor Base
The star of the show is the sweetened condensed milk. This thick, golden liquid is the secret engine that binds everything together while delivering a caramel‑like sweetness that’s impossible to replicate with regular sugar. If you skip it, you’ll end up with a bland, watery mixture that never sets properly. As a swap, you can use a homemade caramel made from sugar, butter, and a splash of cream, but be prepared for extra steps and a slightly different flavor profile. When buying, look for a can that’s free from any added vanilla; you want the pure, unadulterated milk sweetness to shine.
The Texture Crew
Digestive biscuits are the backbone of the crust. Their slightly sweet, wheaty flavor and crumbly texture provide the perfect contrast to the smooth chocolate topping. Crushing them too fine will make the base dense, while leaving large chunks will result in an uneven surface. A good rule of thumb is to aim for a texture reminiscent of coarse sand. If you’re gluten‑free, substitute with gluten‑free oat biscuits, but make sure they’re not overly sweet, as the condensed milk already brings plenty of sugar.
The Unexpected Star
Enter the Crunchie bars — those iconic honeycomb toffee pieces that crackle like fireworks in your mouth. Their airy, caramelized sugar structure adds a lightness that balances the richness of the chocolate and condensed milk. If you can’t find Crunchie, try a honeycomb candy from your local confectionery shop, or even a light caramel popcorn for a different but equally delightful crunch. When selecting Crunchie, pick bars that are fresh and not overly sticky; stale bars can become soggy when mixed with the warm chocolate.
The Final Flourish
Milk chocolate and butter are the finishing touches that bring everything together in a glossy, buttery glaze. The butter not only adds richness but also ensures the chocolate sets with a beautiful snap. The extra ten grams of butter added at the end is crucial — it gives the chocolate a glossy sheen and a slightly softer bite, preventing it from becoming too brittle. If you’re looking for a dairy‑free version, substitute with a high‑quality coconut oil, but expect a subtle coconut flavor to emerge.
Everything's prepped? Good. Let's get into the real action…
The Method — Step by Step
First, line a 20 × 20 cm (8 × 8 inch) square pan with parchment paper, letting the excess hang over the edges for easy lift‑out later. While the pan is waiting, break the digestive biscuits into rough chunks and pop them into a food processor. Pulse until you have fine crumbs, but not a powder — think of the texture of coarse sand at the beach. Transfer the crumbs into a large mixing bowl.
Now, melt 100 g of salted butter in a saucepan over low heat. Once it’s fully melted and starts to foam, pour it over the biscuit crumbs. Using a sturdy wooden spoon, fold the butter into the crumbs until every speck is coated with a buttery sheen. This is the moment of truth — the mixture should hold together when pressed between your fingers, like damp sand forming a castle turret.
Kitchen Hack: If the mixture feels too dry, add a splash (about 10 ml) of melted butter; if too wet, sprinkle in an extra 10 g of crushed biscuits.Press the crumb‑butter mixture firmly into the bottom of the prepared pan, creating an even layer about 1 cm thick. Use the back of a measuring cup to smooth the surface; you want it compact and level, because any gaps will later become air pockets that cause the slice to crack. Once pressed, place the pan in the fridge for at least 15 minutes while you prepare the chocolate topping. The chill will set the base, ensuring it doesn’t crumble when the chocolate is poured.
While the base chills, start the chocolate sauce. In a double boiler (or a heat‑proof bowl set over a pot of simmering water), melt the 200 g of milk chocolate together with the remaining 10 g of salted butter. Stir continuously; you’ll hear a gentle sizzle when the butter hits the chocolate — that’s absolute perfection. Once fully melted, remove the bowl from heat and immediately stir in the 300 g of sweetened condensed milk. The mixture will turn a glossy, caramel‑gold hue and emit a sweet, buttery aroma that fills the kitchen.
Watch Out: Do not let the chocolate boil; overheating will cause it to seize and become grainy.Break the 8 Crunchie bars into bite‑size pieces. The goal is to have a mix of larger shards (for that dramatic snap) and smaller crumbs (for texture distribution). Gently fold the Crunchie pieces into the warm chocolate‑condensed milk mixture, ensuring each piece is fully coated. The chocolate should hug the honeycomb like a warm blanket, and you’ll hear a faint crackle as the honeycomb softens slightly.
Give the chilled biscuit base a quick check: it should be firm to the touch. Pour the chocolate‑Crunchie mixture over the base, spreading it with a spatula to the edges. The topping will be thick, glossy, and slightly warm — perfect for setting. Tap the pan gently on the counter three times to release any trapped air bubbles; you’ll see the surface level out beautifully.
Kitchen Hack: For an ultra‑smooth top, run a hot, damp knife across the surface; the heat will melt the very top layer just enough to level it.Slide the pan back into the fridge and let the slice set for at least 2 hours, or preferably overnight. During this time, the chocolate will harden, and the honeycomb will retain its airy crunch while becoming slightly softer on the edges. The longer you let it set, the easier it will be to lift out of the pan without crumbling.
When you’re ready to serve, lift the slice out using the overhanging parchment paper, place it on a cutting board, and slice with a sharp, warm knife (dip the blade in hot water and wipe dry between cuts). Each slice should reveal a glossy chocolate surface studded with honeycomb shards, a buttery biscuit base, and a perfect balance of sweet, salty, and crunchy. Serve immediately, or store as instructed below. And now the fun part — watch your friends’ faces light up as they take that first bite.
That's it — you did it. But hold on, I've got a few more tricks that'll take this to another level...
Insider Tricks for Flawless Results
The Temperature Rule Nobody Follows
Never pour a hot chocolate mixture over a warm base; the heat will melt the butter in the crust, causing it to become soggy. Always chill the biscuit base for at least 15 minutes before adding the topping. This simple temperature dance ensures a clean separation between layers, giving you that satisfying snap when you cut into the slice.
Why Your Nose Knows Best
Your sense of smell is a reliable indicator of doneness. When the chocolate‑condensed milk blend starts to emit a buttery, caramel scent, you’re at the perfect stage to fold in the Crunchie. If the aroma is faint, give it another minute; if it turns overly toasty, you’ve crossed the line into burnt territory.
The 5‑Minute Rest That Changes Everything
After you press the biscuit base, let it rest uncovered for five minutes before chilling. This brief pause allows the butter to fully absorb into the crumbs, creating a firmer, less crumbly foundation. I once skipped this step, and the base crumbled like dry sand when I tried to lift it — lesson learned.
The Butter Shine Secret
Adding that extra ten grams of butter at the end of the chocolate melt gives the top a professional‑grade gloss. It also slightly lowers the chocolate’s setting point, making the slice easier to cut. If you’re after a matte finish, skip the extra butter, but you’ll lose that luxurious sheen.
Seasonal Swaps for Extra Wow
If you’re making this in summer, a sprinkle of toasted coconut adds a tropical twist. In winter, a dusting of ground cinnamon or espresso powder adds warmth. These simple additions keep the core recipe fresh and exciting throughout the year.
Creative Twists and Variations
This recipe is a playground. Here are some of my favorite ways to switch things up:
Nutty Crunch
Swap half of the digestive biscuits for toasted hazelnut crumbs and fold in a handful of chopped toasted almonds with the Crunchie. The nutty undertones add depth and a pleasant chew.
Berry Burst
Stir in 100 g of freeze‑dried raspberries into the chocolate mixture before adding the Crunchie. The tangy berries cut through the sweetness and provide a pop of color.
Salted Caramel Dream
Replace the condensed milk with a ready‑made salted caramel sauce, and sprinkle flaky sea salt on top before chilling. The salty‑sweet contrast elevates the slice to a gourmet level.
Matcha Magic
Add 2 tsp of high‑quality matcha powder to the melted chocolate for a subtle earthy flavor and a vibrant green hue that looks stunning on a serving platter.
Coffee Kick
Dissolve 1 tsp of instant espresso powder in the melted chocolate for a mocha‑infused slice. Pair with a dollop of whipped cream for a café‑style dessert.
Storing and Bringing It Back to Life
Fridge Storage
Keep the slice in an airtight container in the refrigerator for up to 5 days. The cool environment preserves the chocolate’s snap and prevents the honeycomb from getting soggy.
Freezer Friendly
Wrap the entire pan tightly in cling film, then place it in a freezer‑safe bag. It will freeze beautifully for up to 1 month. When you’re ready to serve, move it to the fridge to thaw for 2 hours, then let it sit at room temperature for 15 minutes before cutting.
Best Reheating Method
If the chocolate feels too firm after refrigeration, place a slice on a microwave‑safe plate, add a tiny splash (about 5 ml) of water next to it, and microwave for 5‑10 seconds. The steam will revive the chocolate’s gloss without melting the honeycomb.