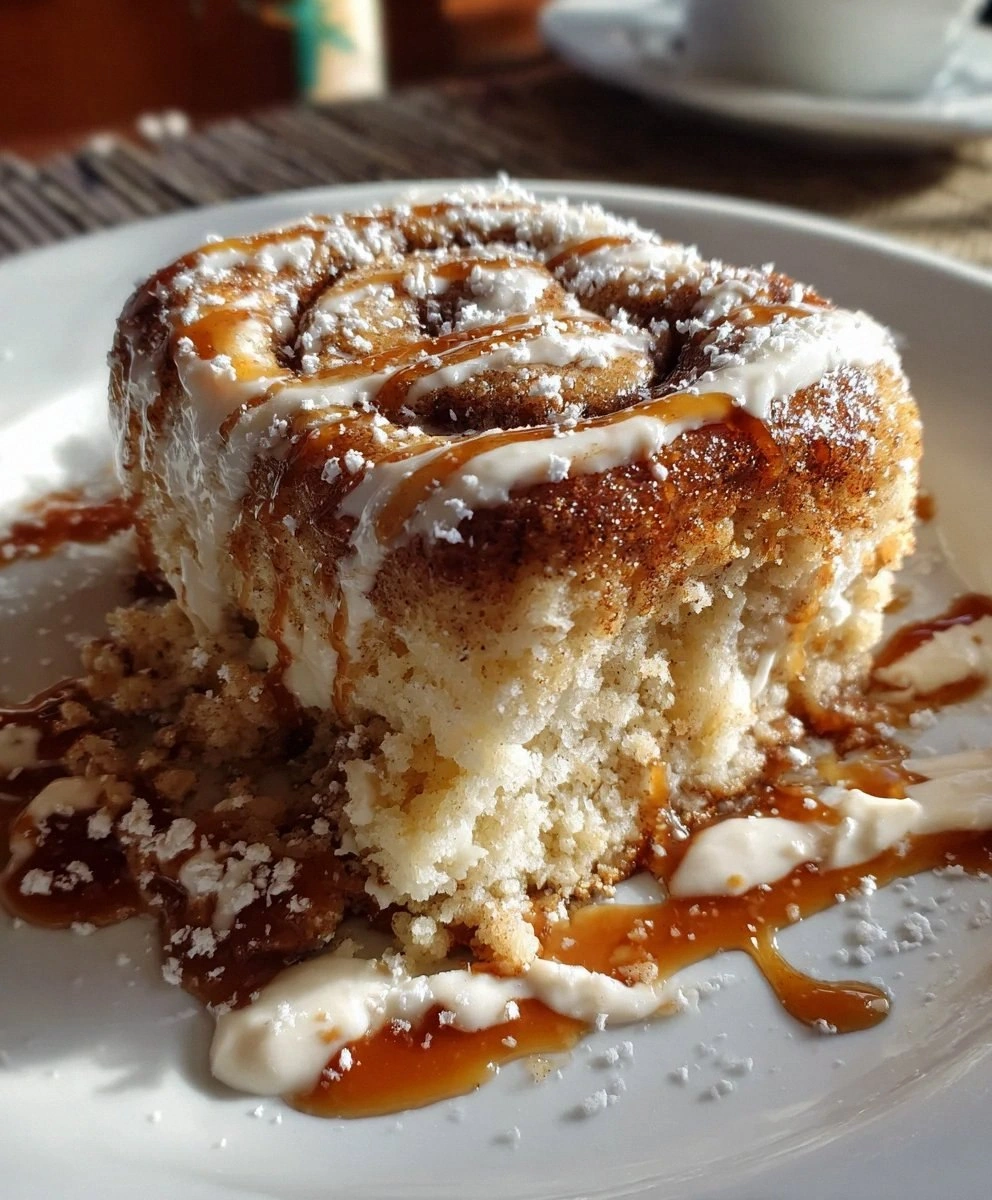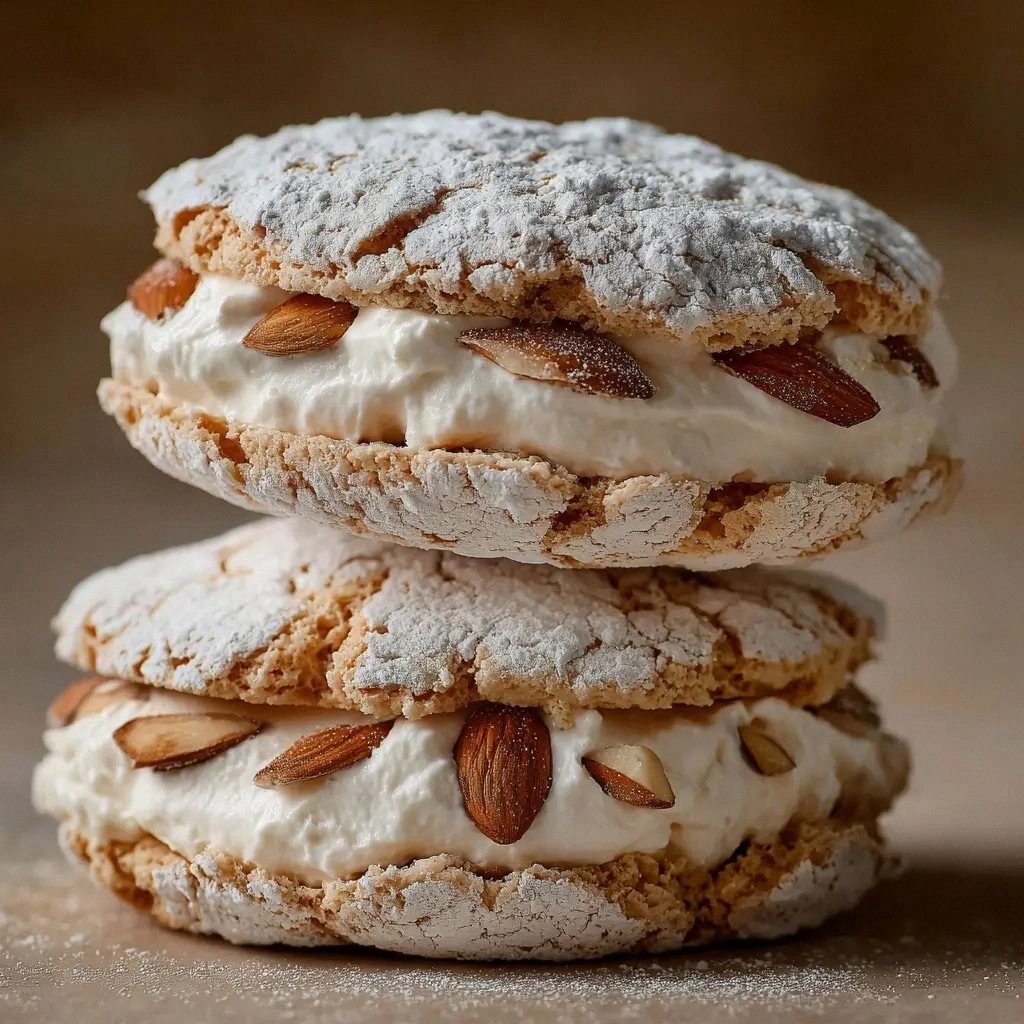
I was standing in my kitchen, surrounded by flour, sugar, and the faint scent of almonds, when my phone buzzed with a text from a friend: “Dude, you have to try this!” She’d sent a photo of a perfectly crisp almond dacquoise, its golden edges glistening like sunrise over a quiet lake. I laughed, thinking I’d never make something so delicate, but I was wrong. The moment I tasted that first bite, the world shifted—flaky, airy, with a nutty whisper that lingered on my tongue. That was the moment I decided to share the recipe that turned a kitchen mishap into a culinary triumph.
Picture this: you’re in the middle of a busy week, craving something sweet but not over the top. You open your pantry, pull out almonds, sugar, and a jar of vanilla, and suddenly, the kitchen feels like a stage set for a show. The oven hums, the timer ticks, and the air is thick with anticipation. The sound of whisking is a metronome, the clatter of the mixer a drumbeat, and the aroma of toasted almonds rises like a gentle mist. That sensory symphony is what makes this almond dacquoise stand out from the crowd.
What sets this version apart is not just the ingredients or the technique, but the philosophy behind it. It’s about embracing the simplicity of a French meringue while adding the depth of almond. It’s about making a dessert that feels like a celebration, even on a Tuesday. It’s about turning a kitchen disaster—think collapsed meringue—into a triumph of texture and flavor. And most importantly, it’s about giving you a recipe that you can confidently make, knowing that every step is designed to bring out the best in each component.
So, let’s dive deep into the world of almond dacquoise. I’ll walk you through every single step, from the first whisk to the final plating. By the end, you’ll wonder how you ever made it any other way. I dare you to taste this and not go back for seconds. Trust me, this is hands down the best version you’ll ever make at home.
What Makes This Version Stand Out
- Taste: The natural sweetness of finely ground almonds pairs with the subtle vanilla, creating a layered flavor that’s both nutty and floral. The result is a cake that’s light on the palate yet rich in depth.
- Texture: Crisp on the outside, airy on the inside. The meringue base gives it that coveted crunch that shatters like thin ice when you bite.
- Simplicity: Five core ingredients, no fancy gadgets, just a mixer and a baking sheet. A recipe that even a beginner can master.
- Uniqueness: The use of superfine sugar ensures a smooth, glossy finish that’s rarely seen in traditional meringues.
- Crowd Reaction: Friends and family often ask for “the recipe” after tasting. The dessert has become a go-to for special occasions.
- Ingredient Quality: Fresh, high‑grade almonds and pure vanilla extract elevate the flavor profile, turning a simple dessert into a gourmet experience.
- Cooking Method: Baking at a low temperature allows the layers to set evenly, preventing the dreaded “blooming” of sugar on the surface.
- Make‑Ahead Potential: Once baked, the layers can be stored in an airtight container for up to a week, making it perfect for busy schedules.
Alright, let's break down exactly what goes into this masterpiece...
Inside the Ingredient List
The Flavor Base
The vanilla extract is the unsung hero of this dacquoise. It provides a fragrant, almost floral undertone that balances the nutty sweetness of the almonds. If you’re using a vanilla bean, split it and scrape the seeds—this gives a richer aroma. Skipping vanilla will leave the meringue tasting flat; it’s like a song without a melody.
The Texture Crew
Egg whites are the backbone of the meringue. They create the airy, cloud‑like structure that gives the dacquoise its signature crispness. The cream of tartar stabilizes the whites, ensuring they hold stiff peaks even after the sugar is added. Don’t rush this step; patience is key.
The Unexpected Star
Superfine or caster sugar is essential for a smooth, glossy finish. Regular granulated sugar can leave a gritty texture on the surface. The fine crystals dissolve quickly, allowing the meringue to set evenly. If you only have regular sugar, pulse it in a blender until it reaches the superfine consistency.
The Final Flourish
Almond flour brings body and flavor. It’s the bridge between the airy meringue and the dense almond taste. Use a high‑quality, finely ground almond flour for the best mouthfeel. If you’re allergic to nuts, you can replace it with a blend of oat flour and a pinch of almond flavoring—though the texture will differ.
Everything's prepped? Good. Let's get into the real action...
The Method — Step by Step
- Preheat your oven to 325°F (163°C) and line two 8‑inch cake pans with parchment paper. The low temperature allows the meringue to set slowly, preventing the sugar from blooming on the surface.
- In a stand mixer, combine the 6 large egg whites with ¼ tsp of cream of tartar. Beat on medium speed until soft peaks form. This is the foundation of your airy texture.
- Gradually add 1½ cups of superfine sugar, one tablespoon at a time, while continuing to beat. The sugar must be fully dissolved for the meringue to stay glossy. The mixture should rise in volume and become silky to the touch.
- Fold in 1 ¾ cups of almond flour and 1 tsp of vanilla extract with a spatula. Stir gently until the batter is smooth but not overmixed, preserving the lightness of the meringue.
- Divide the batter evenly between the two prepared pans, smoothing the tops with a spatula. The batter should be level so that the layers bake evenly.
- Bake for 20–25 minutes, or until the tops are golden and a toothpick inserted in the center comes out clean. The edges should lift slightly from the pan, indicating a crisp shell.
- Remove from the oven and let the layers cool on a wire rack for at least 15 minutes. Cooling is crucial; a hot layer will melt the other when assembled.
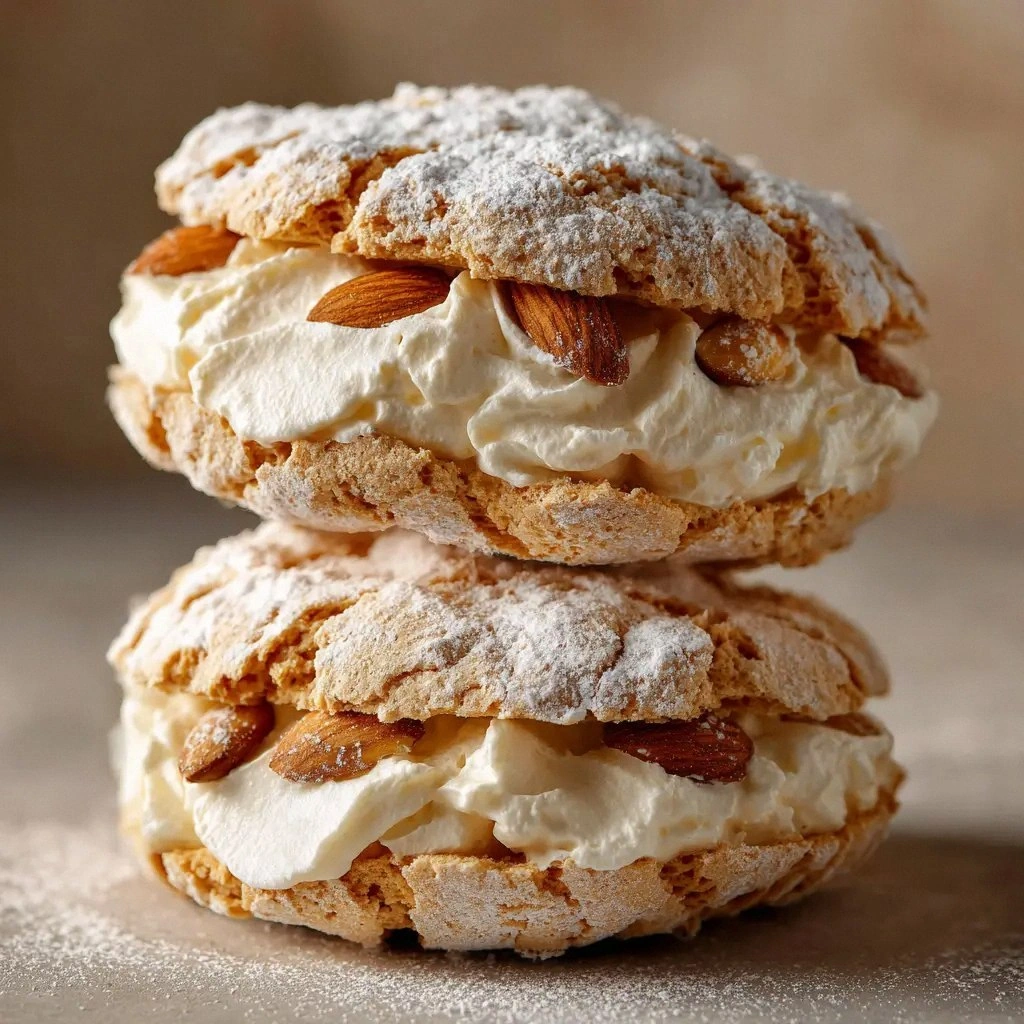
- Once cooled, assemble by placing one layer on a serving plate, adding a thin spread of whipped cream or ganache, and topping with the second layer. The contrast between the airy meringue and the rich filling is where the magic happens.
- Optional: dust the top with powdered sugar or drizzle melted chocolate for an extra touch of elegance. Chill for 10 minutes if you’re using ganache to set the filling.
- Serve immediately, or cover with plastic wrap and refrigerate for up to 2 days. When ready to serve, let it sit at room temperature for 15 minutes to bring out the full flavor.
That's it — you did it. But hold on, I've got a few more tricks that'll take this to another level...
Insider Tricks for Flawless Results
The Temperature Rule Nobody Follows
Many bakers set their ovens to a high temperature, thinking it will speed up baking. In reality, a low and slow bake at 325°F allows the meringue to set gently, preventing the sugar from blooming and the layers from cracking. I’ve seen layers turn out perfect when I stick to this rule, even on a warm day.
Why Your Nose Knows Best
As soon as the meringue starts to bake, you’ll notice a sweet, nutty aroma rising. That scent is your cue: when it’s slightly toasty but not burnt, the layers are ready. If you’re unsure, give your nose a test; it’s more reliable than a timer.
The 5‑Minute Rest That Changes Everything
After baking, let the layers rest for exactly five minutes before moving them to a rack. This brief pause allows the structure to set fully, preventing cracks when you transfer the cakes. I’ve lost a batch once because I rushed the transfer; the layers cracked like a brittle cookie.
Keep the Whipped Cream Light
If you’re using whipped cream, beat it until soft peaks form, not stiff. The cream should be airy and not too dense, so it doesn’t overpower the delicate meringue. A light hand keeps the overall texture balanced.
Use a Silicone Baking Mat
A silicone mat provides even heat distribution and eliminates the need for parchment paper. It also makes cleanup a breeze. I’ve tried both methods; the mat gives a slightly more even bake.
Store in an Airtight Container
Once cooled, place the layers in an airtight container at room temperature. The airtight seal prevents moisture from seeping in, preserving the crispness. For longer storage, refrigerate; just remember to let the dacquoise come to room temperature before serving.
Creative Twists and Variations
This recipe is a playground. Here are some of my favorite ways to switch things up:
Chocolate Dacquoise
Swap half the almond flour for cocoa powder. Add a splash of espresso to deepen the chocolate flavor. The result is a rich, bittersweet cake that pairs well with a glass of dark rum.
Orange‑Lemon Zest Dacquoise
Add a tablespoon of finely grated orange zest and a teaspoon of lemon zest to the batter. The citrus brightens the almond flavor and adds a refreshing lift.
Almond‑Honey Ganache
For the filling, melt equal parts honey and heavy cream, then fold in toasted almond slivers. The honey’s sweetness complements the nutty base, creating a luxurious mouthfeel.
Espresso‑Infused Meringue
Stir in a tablespoon of cold espresso into the meringue before folding in the almond flour. The coffee undertones give the dacquoise a sophisticated edge, perfect for an after‑dinner treat.
Nut‑Free Version
Replace almond flour with oat flour and add a teaspoon of almond extract. The texture will be slightly denser, but the flavor remains delightful. Ideal for those with nut allergies.
Mini Dacquoise Bites
Use a silicone muffin tin and bake in 5‑minute increments. These bite‑size delights are perfect for parties and can be stored in an airtight container for a week.
Storing and Bringing It Back to Life
Fridge Storage
After cooling, wrap the dacquoise layers individually in parchment paper and place them in a zip‑lock bag. Store in the fridge for up to 5 days. The parchment protects the layers from absorbing fridge odors.
Freezer Friendly
For longer storage, wrap each layer tightly in plastic wrap, then place them in a freezer bag. Freeze for up to 3 months. Thaw at room temperature for 30 minutes before assembling.
Best Reheating Method
To revive a refrigerated or frozen dacquoise, gently warm it in a 350°F oven for 5 minutes. Add a splash of water to the baking sheet to create steam; this keeps the meringue from drying out. Let it sit for a few minutes before serving.